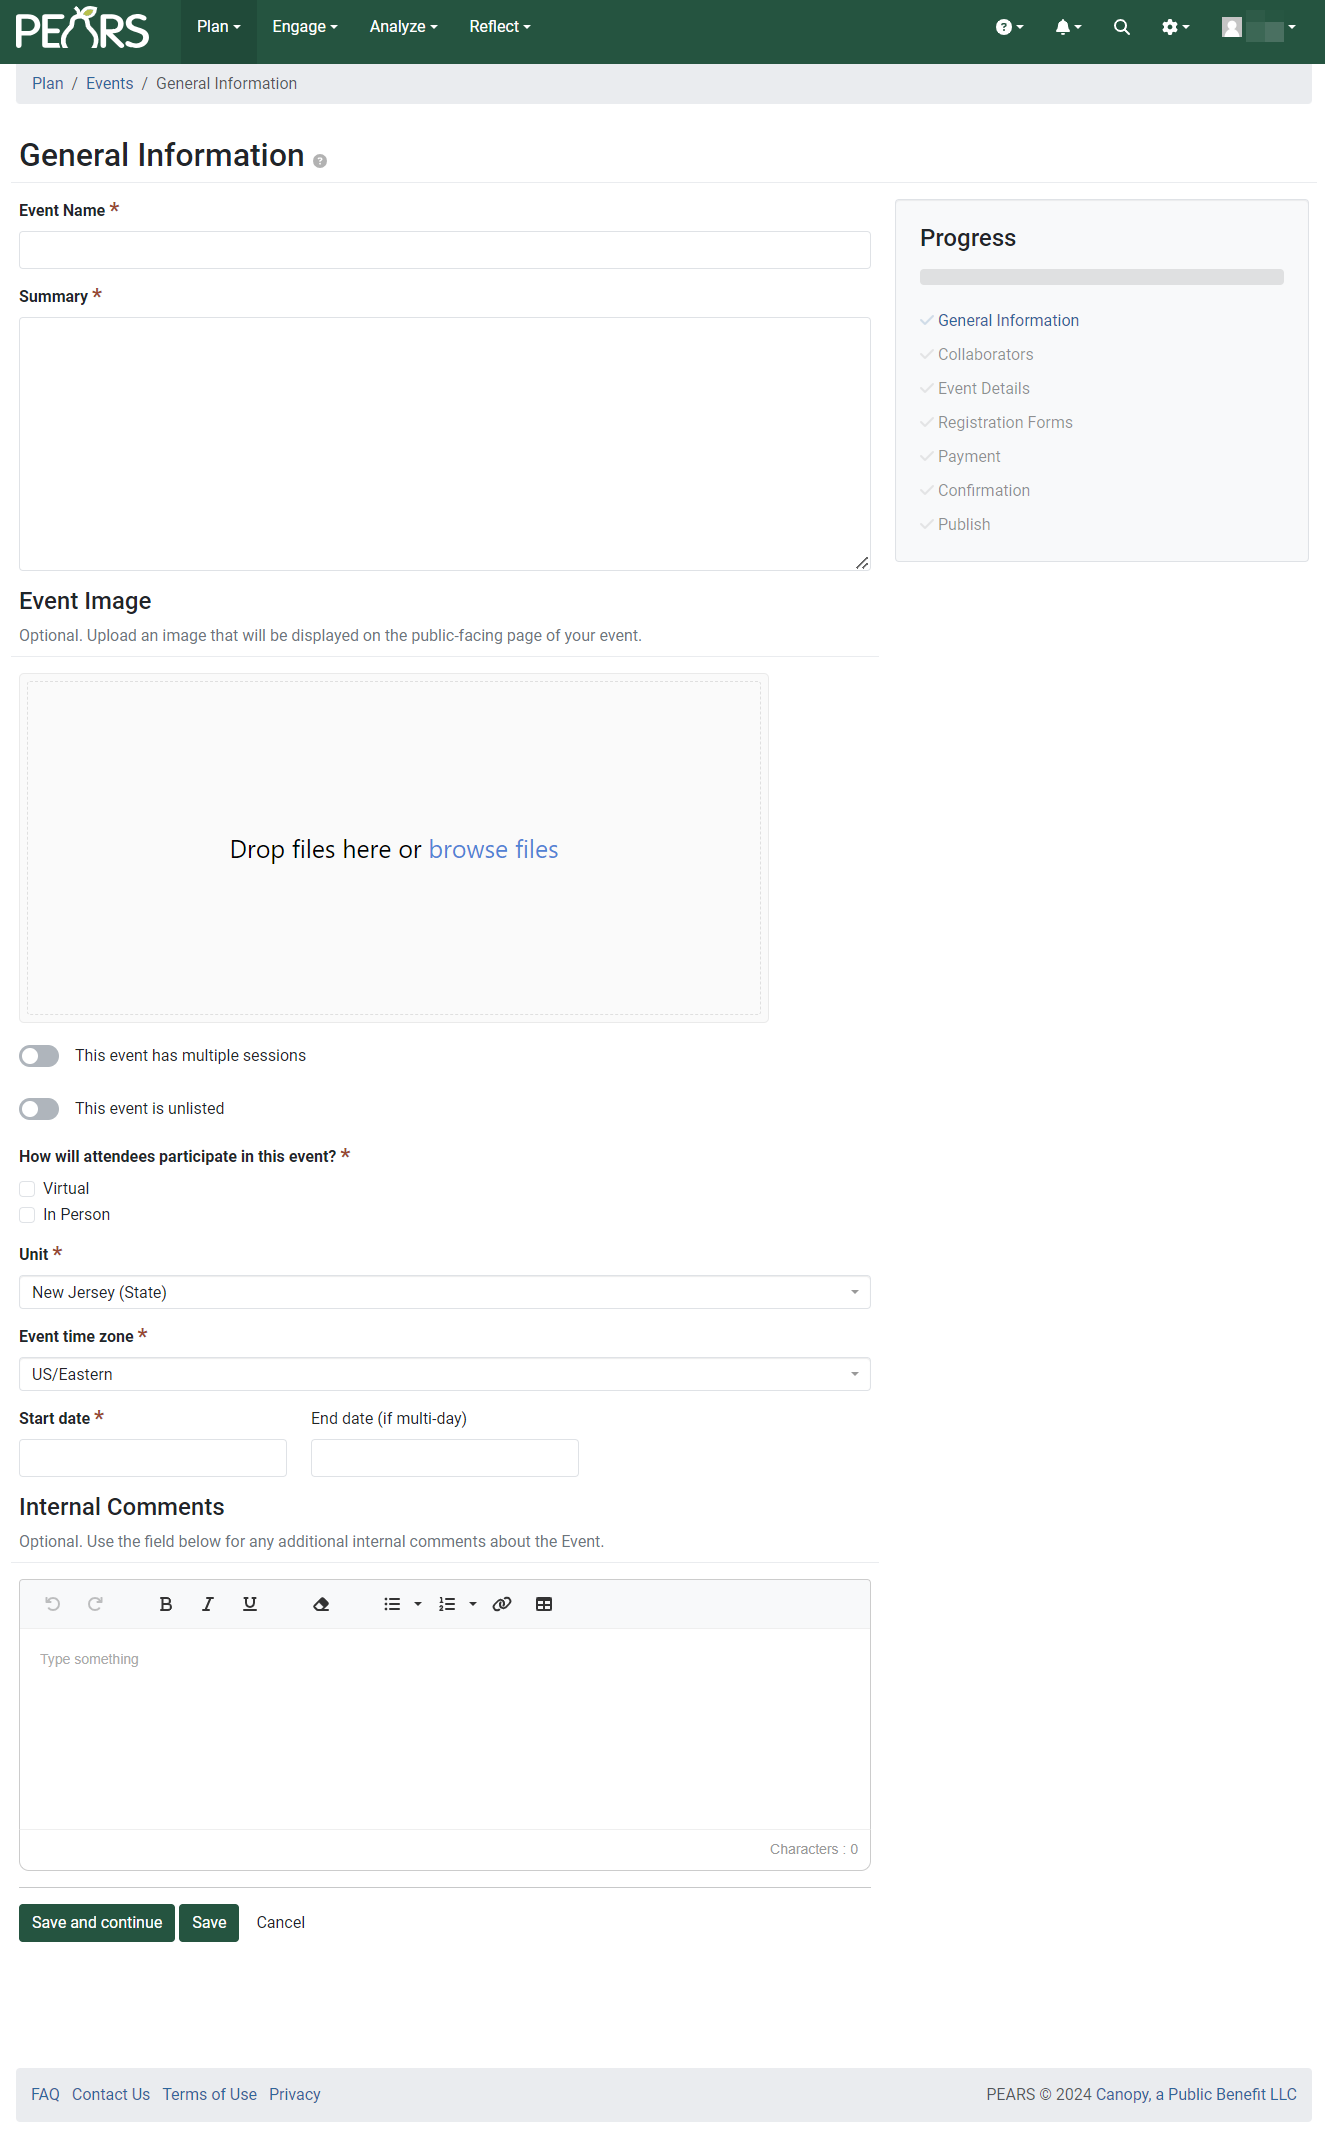
Navigate through the Plan menu to the Community Event section. Here you will add the details of the new event. There are several required fields including: The name of the event, a summary, when the event is, and where the event will be held (if the event is marked as in person). Additionally, there are optional fields to provide greater clarity for your event.
The Collaborators page enables you to add members of your organization to view or view and edit a specific record. Adding a collaborator does not give them any additional sitewide access or permissions. Please refer to the Collaborators document for further details.

The Event Details page is where you provide the essential details about your event. Include information like event descriptions, cost, payment instructions, and traveling directions for public access. In addition, upload any files that will be displayed and available for download on the public-facing event display.

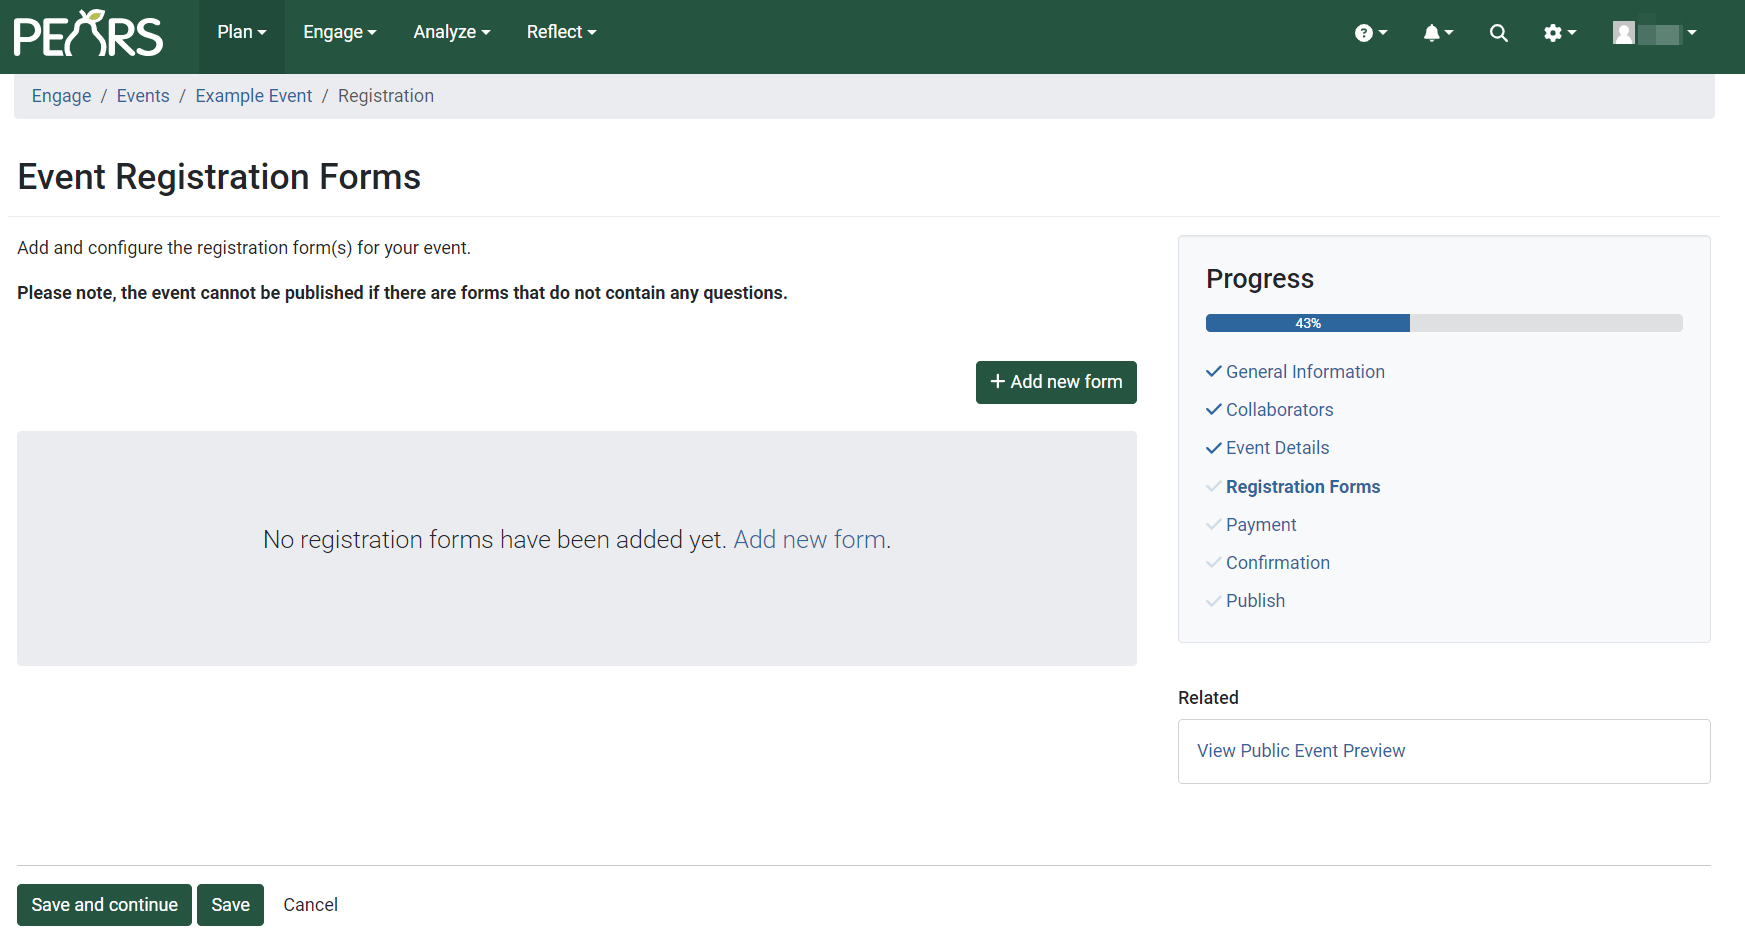
On the Event Registration Forms page, add and configure the registration form(s) for your event. There are four types of forms to create including Attendee, Sponsor/Vendor, Volunteer, and Other. For more details please refer to the Registration Form Templates and Blocks document.
On the Payment page, indicate if your event requires a fee.

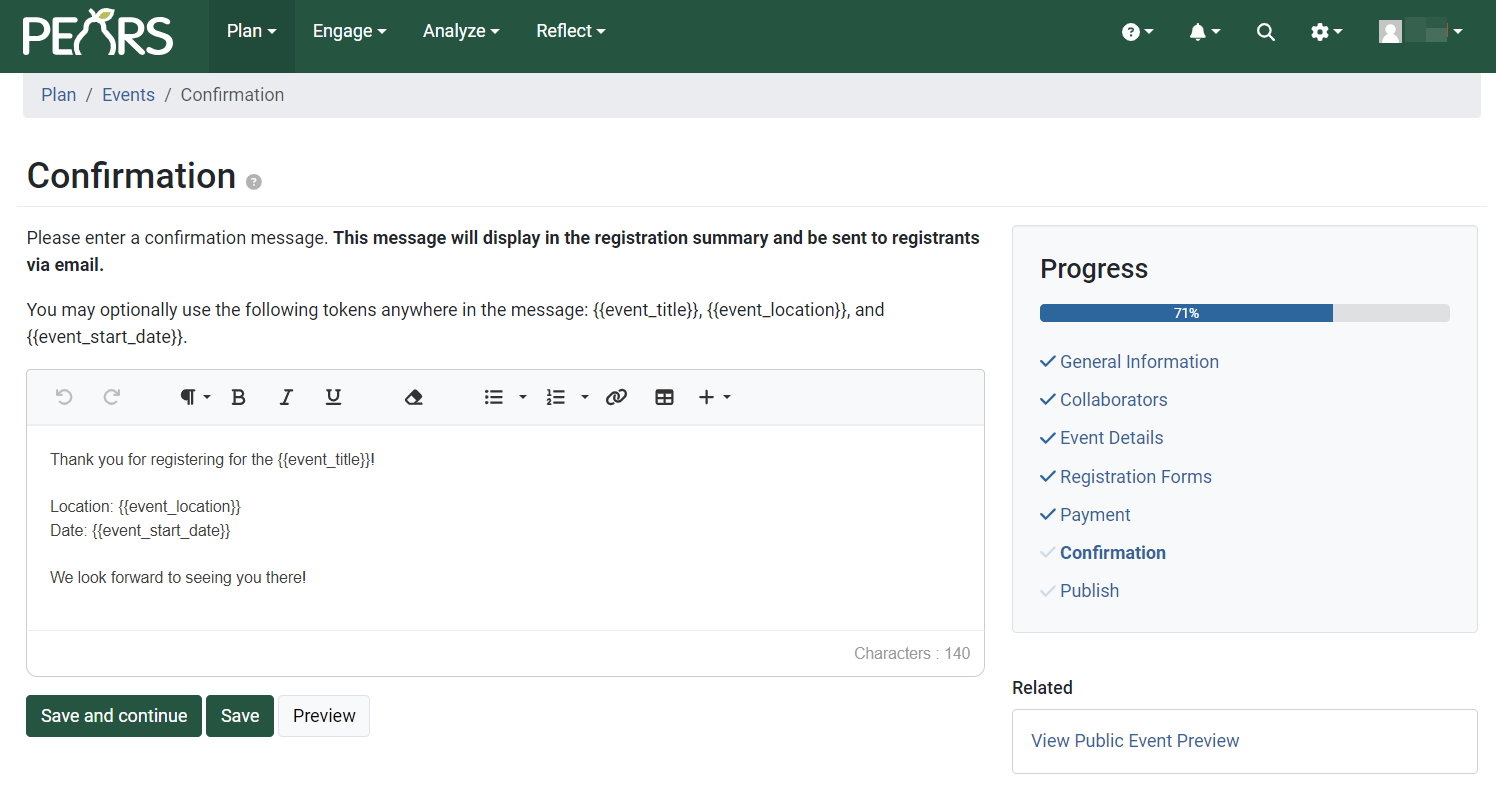
The Confirmation page is where you provide the email text for a confirmation message. This message displays in the registration summary and in an email to registrants.
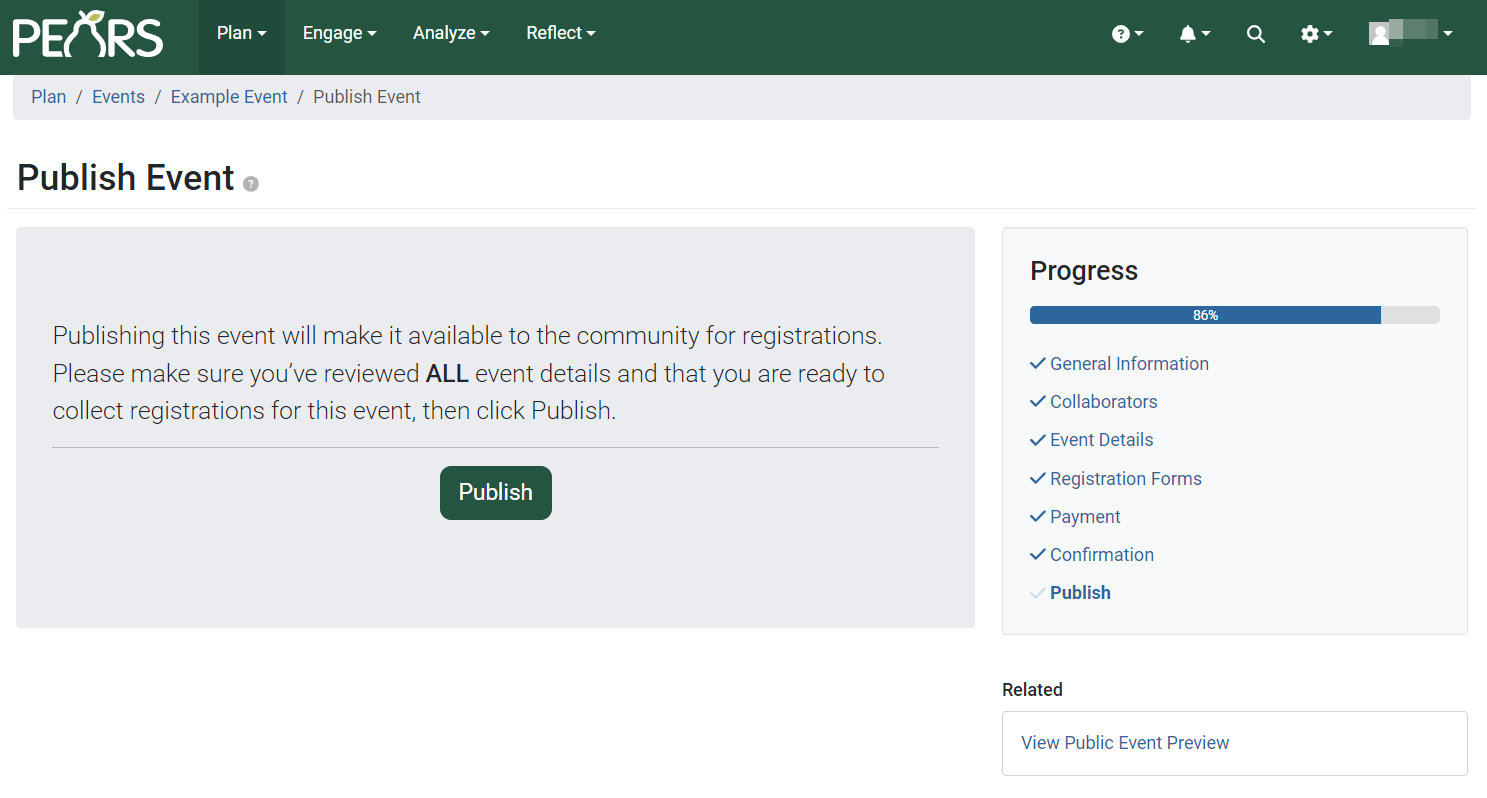
Once all Event data has been entered, your event can be Published to the public facing website.
Create a Community Event
by Canopy Team