The Data Manager role gives users access to view and edit all data within their organization. These privileges enable more efficient data cleaning and verification. Optionally, Data Managers may mark records as verified or unverified to track which data has been cleaned. This is not required to use PEARS or to verify records. Each organization may determine their own data cleaning process. To view verified or unverified records, follow the steps below.
- Go to the record(s) you would like to view.
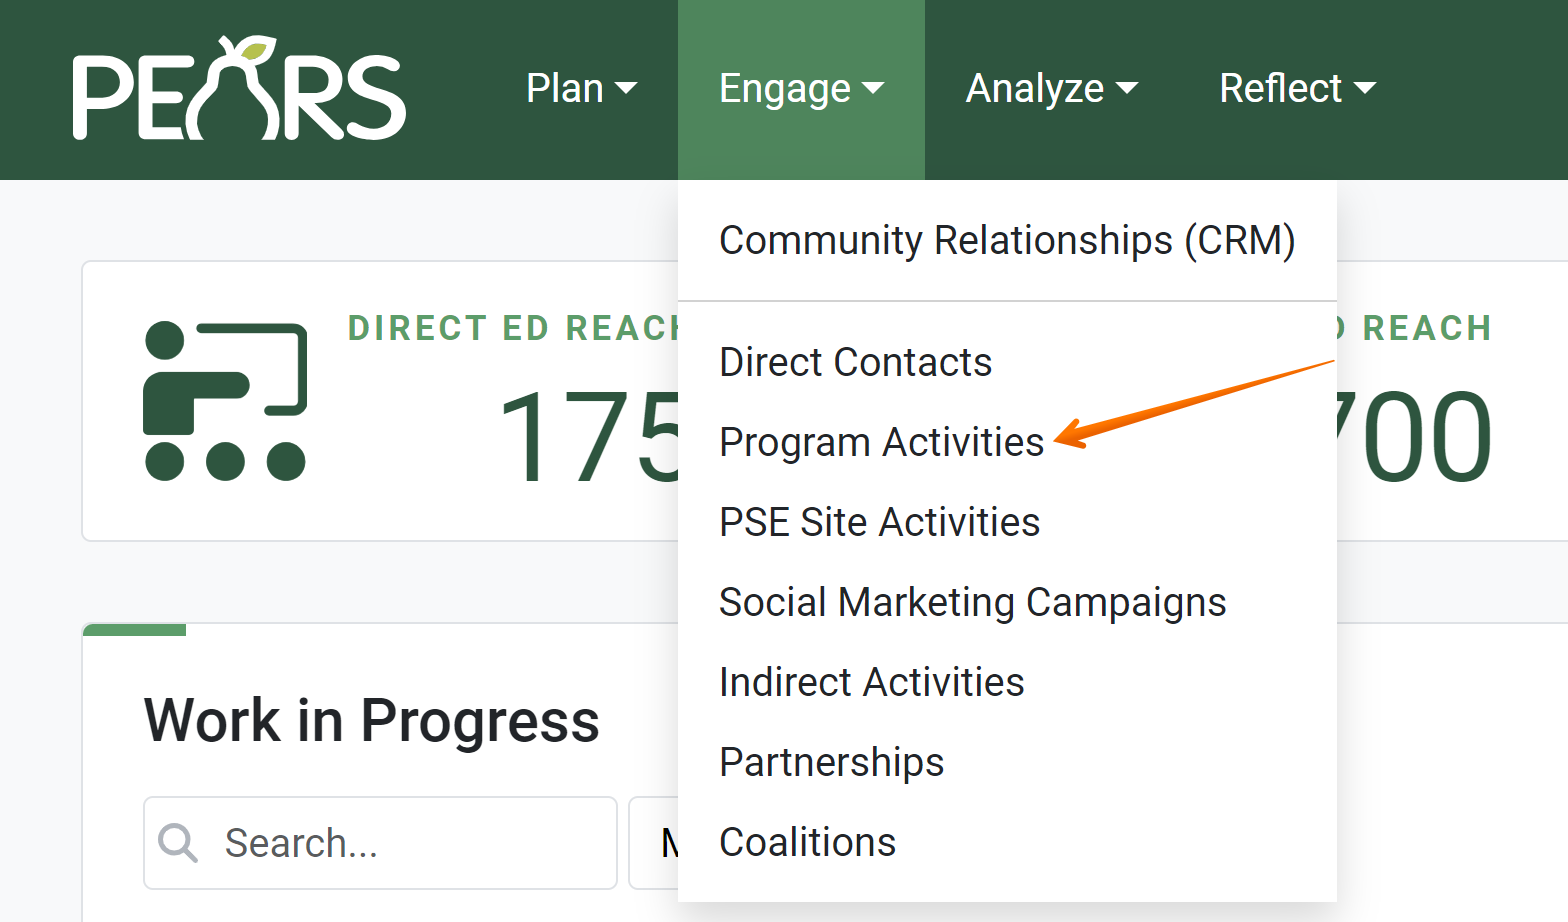
For example, to view verified Program Activities, hover the cursor over the Engage menu and click Program Activities:
- The Program Activities list displays. Click Filter to filter the list for verified records.

- In the Verified field, select Verified or Not Verified.

- Click Apply.

- Based on the filter selected, the list shows all records that have been marked verified or all records that have not been marked verified.

- Click x to remove the filter. Click the Filter button to select a different filter.

NOTE:
By default, all records are unverified. Data Managers can mark records as verified by clicking the Mark as Verified button. If any user edits verified data, the record automatically returns to be unverified. For more information on verifying data, see: Mark a Record as Verified
NOTE:
The following modules do not include the Mark as Verified button: Action Plans, Surveys, Professional Development, Performance Reviews, and Quarterly Efforts. These modules already include a verification process or a statement confirming data accuracy.
NOTE:
By default, both verified and unverified records are listed. Data Managers can filter record lists and exports to show: only verified records or only unverified records. All users can also filter exports for verified or unverified records.