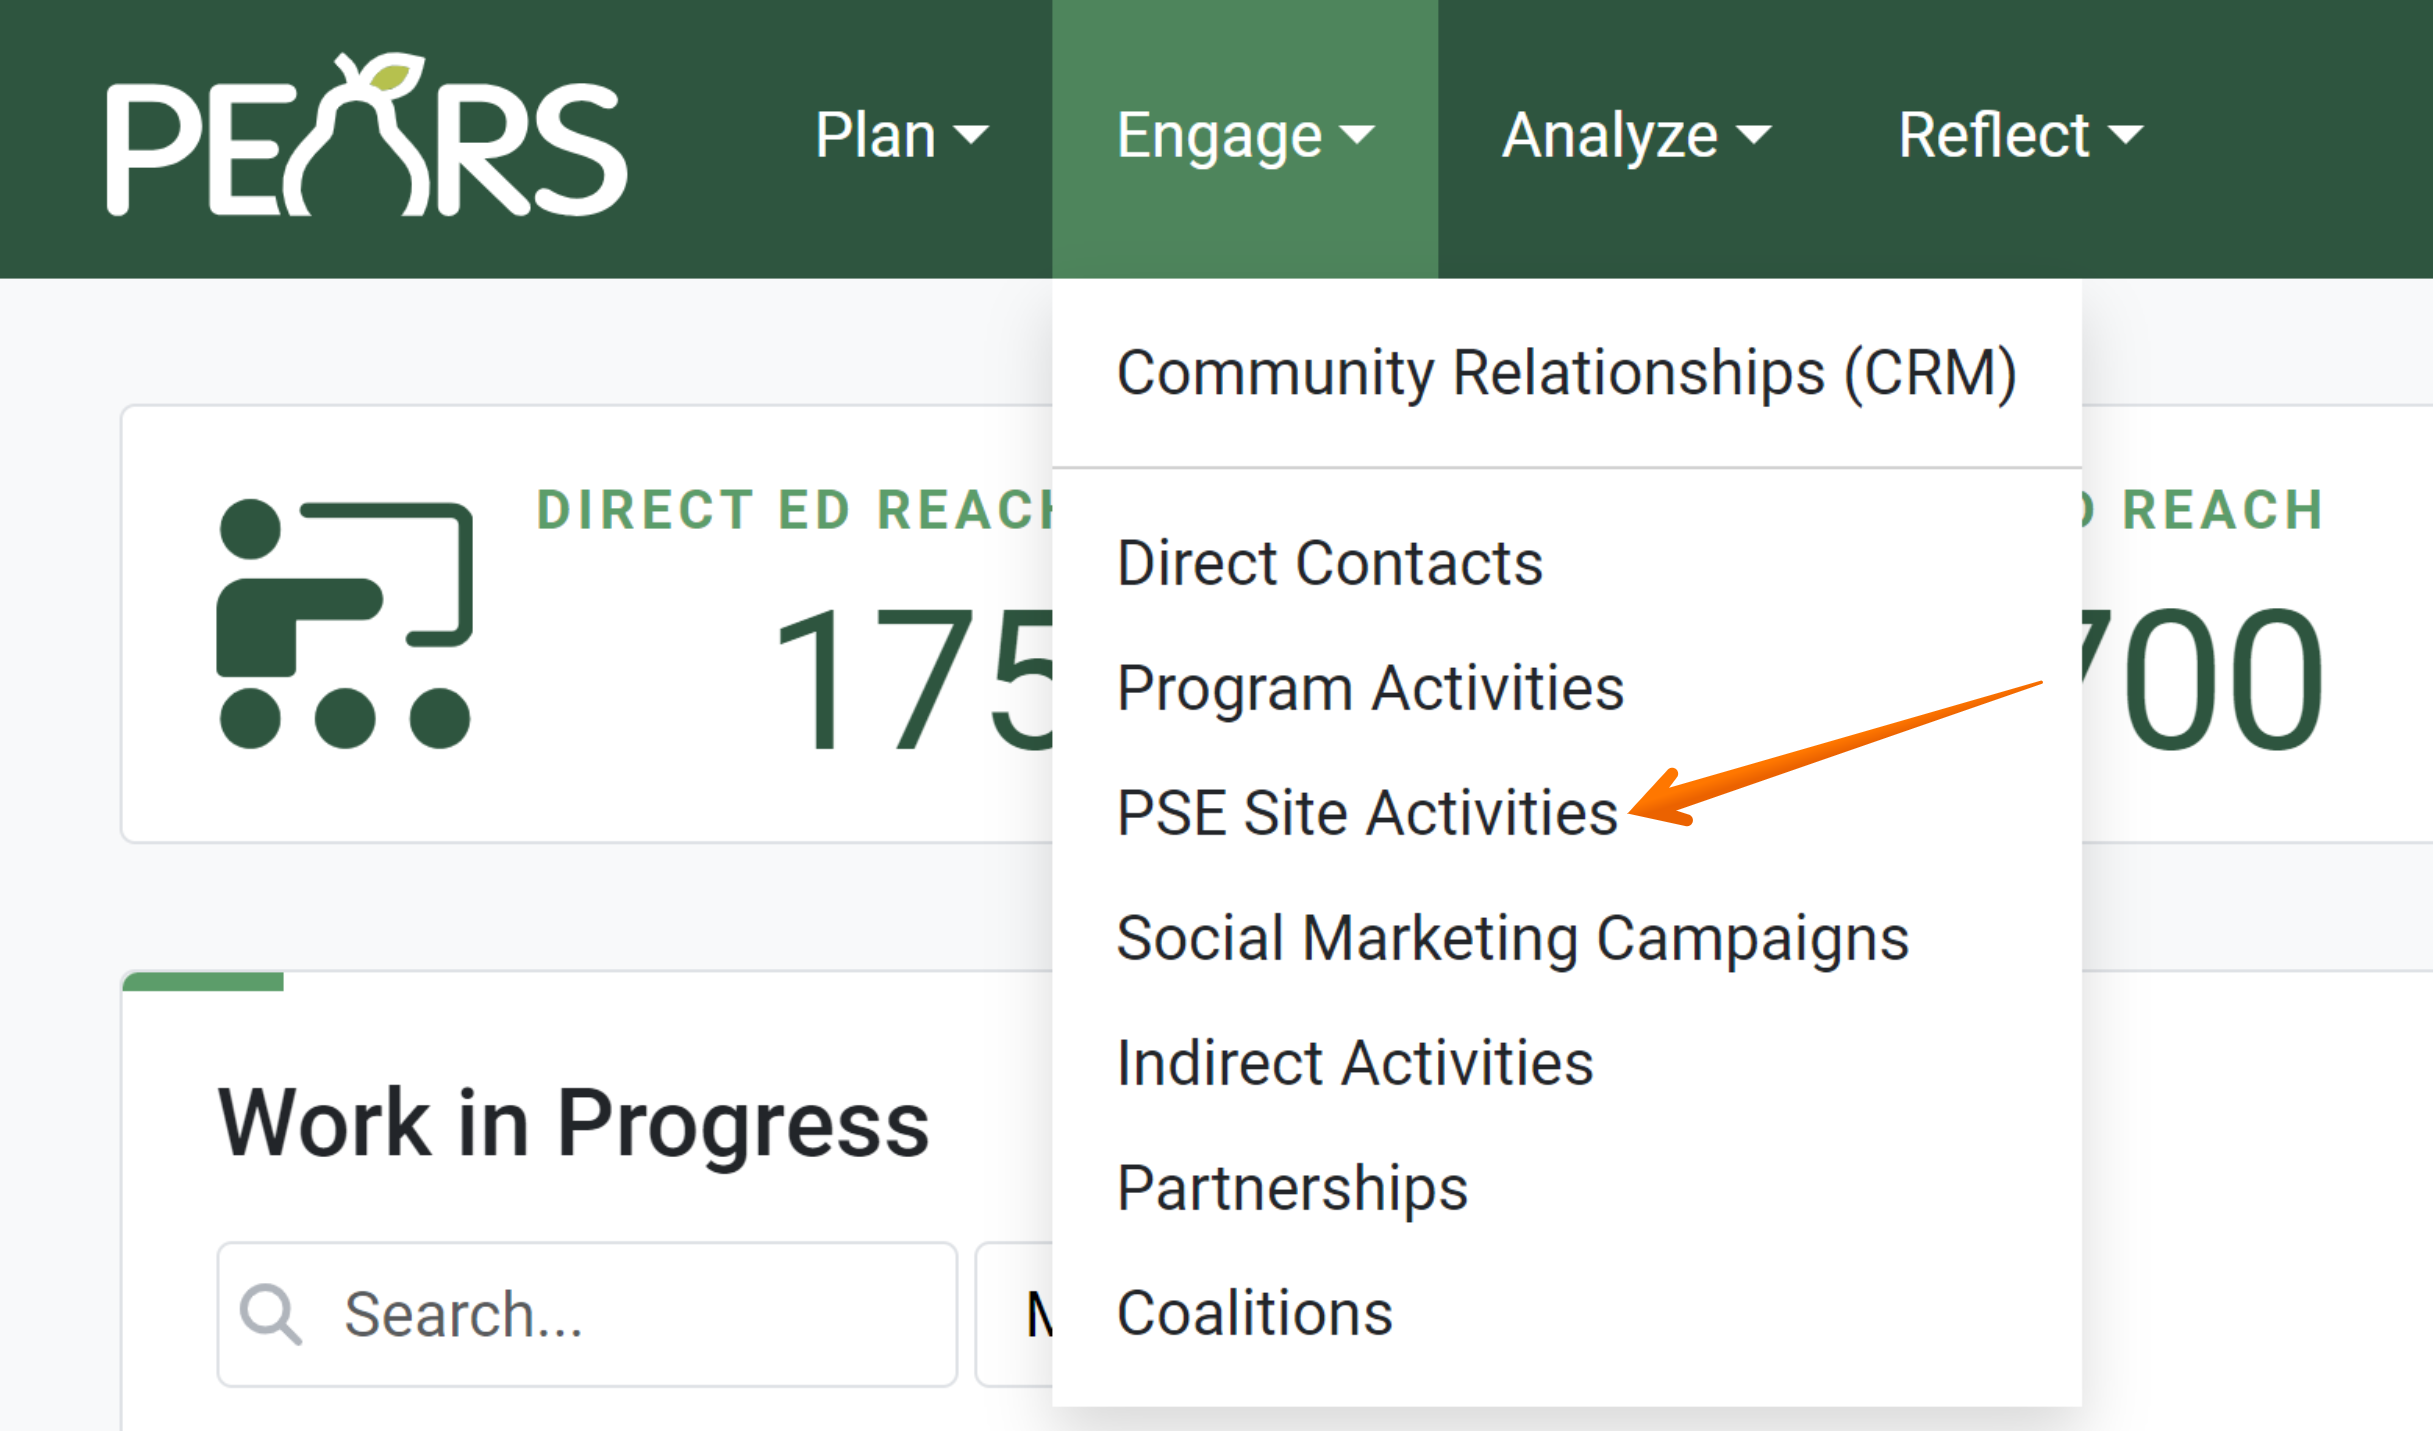
From the PEARS homepage, hover over the Engage menu and click on PSE Site Activities:

The PSE list displays. Click the green Add button:

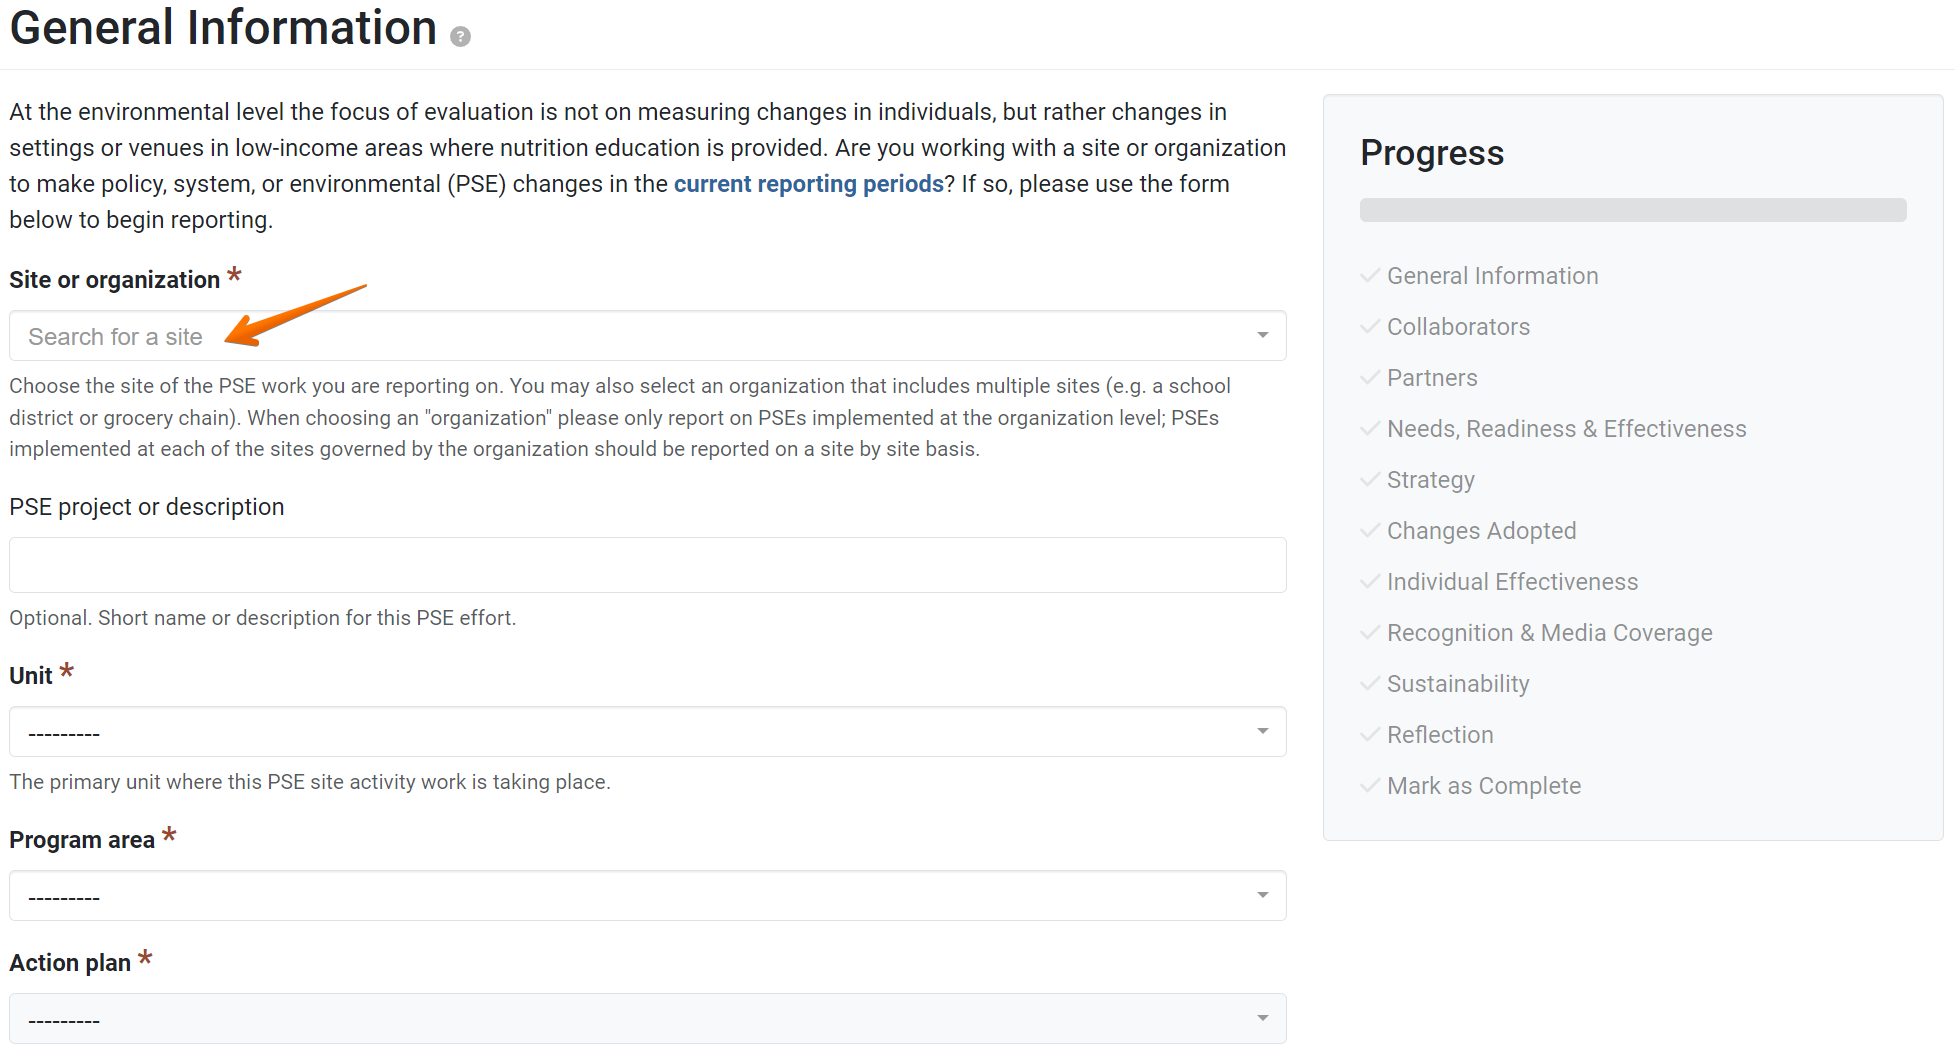
The add PSE form displays. Find the site of the PSE work you are reporting in the Site or Organization drop down list:

- Optionally, a PSE project name or description can be assigned:

- The next field in the form is Intervention name. Place your cursor in the field, and a list of choices is displayed. Choose one from the list of choices:

- If the “Other, please specify” option was chosen in step 5, enter a description of the intervention in the field labeled Intervention other:

- From the drop-down list labeled Unit, choose which unit this PSE is associated with:

- If the Program Area field displays, click on the drop-down menu to assign a program area to the record:

- If an Action Plan is linked, select from the drop-down menu. If not, select “Not linked to an Action Plan.”

- Next, check the pertinent boxes if the PSE site or organization is a USDA summer meal site, Indian reservation, or military base:

- In the next field, choose a PSE setting from the drop down menu:

- If an “Other” option was chosen in step 10, add a description of the setting in the PSE setting other field:

- The next field in the web form is Intervention Topics. Place your cursor in the field, and a list of choices will display:

Select the intervention topics that the PSE falls under. More than one topic may be selected. If needed, remove a choice by clicking the on the label:
Next, input the Reporting Year that you first made contact with this site in SNAP-Ed funded work:

- Choose which stage of the program planning continuum that the PSE work is in (for the CURRENT reporting year):

Optionally, select the approximate date that you began implementing changes.

- In the Comments section, additional description and information can be optionally included:

- In the File Attachments field, upload related files as needed. To upload files, click Select to choose files from the computer’s file explorer. Alternatively, drag and drop files into the gray area.
Many different types of files may be uploaded, including: Word documents, PDFs, Excel workbooks, jpg, png, and others:
- Click Save and Continue to move on to the next section, or Save to go back to the overview page for the PSE:

✓ TIP:
If multiple locations are involved in the PSE work, you can choose an organization (e.g. a school district). Should you find that the site/organization you are looking for is not listed, you have the option to add a site.
✓ TIP:
The red asterisk *next to the heading of a field indicates that the field is required. You will not be able to save the record until you have added input into that field.
✓ TIP:
Step 9 is for Extension Users only.
✓ TIP:
The PSE setting is the type of site (e.g. schools, work sites, food stores). If more than one setting was involved, a separate PSE should be created for each setting.
✓ TIP:
PSE work takes place on a continuum. The planning stage response options represent points on the PSE program planning continuum.
✓ TIP:
This field is only available when you select Started implementation of changes.