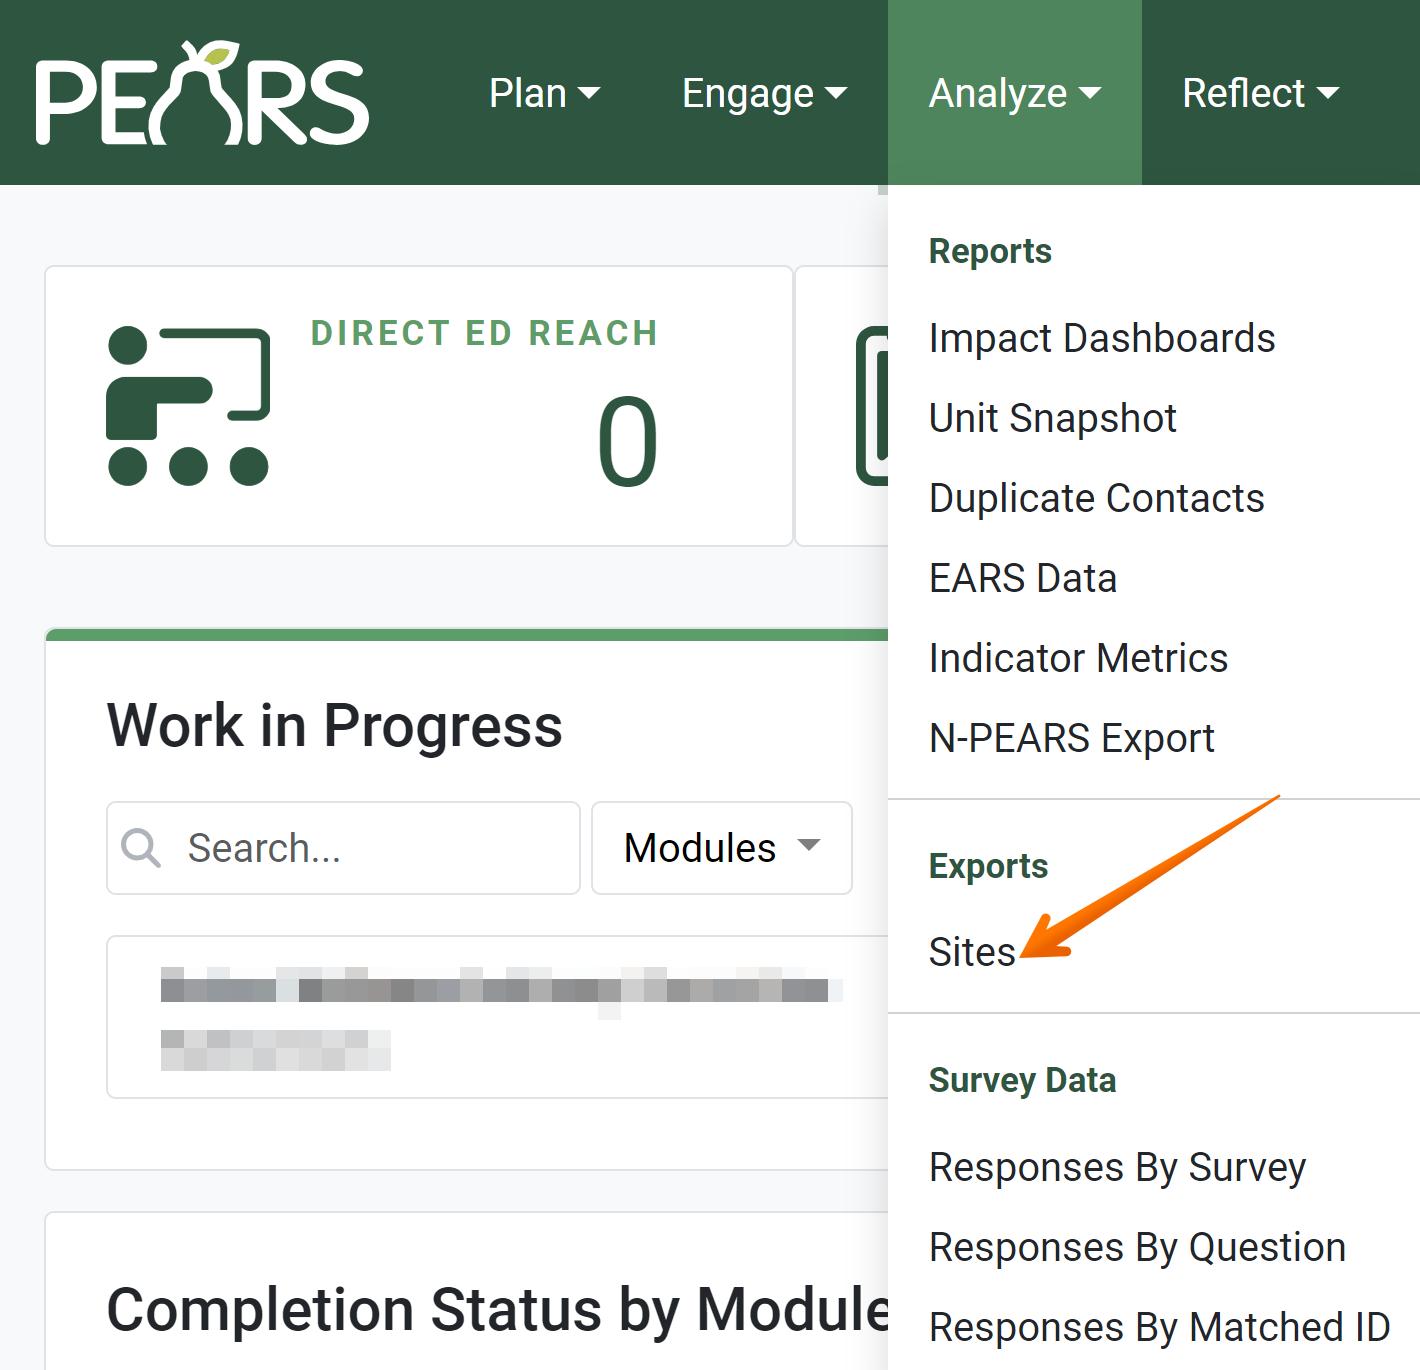
Programming Managers and Organization Administrators can use the Manage Sites page to add, edit, merge, or delete sites. Staff with these roles can also mark sites inactive and export site data. Exporting site data allows you to review site details in bulk. The following article provides more information on exporting site data from PEARS. To jump to a specific section, click on one of the links below:
Access the Site Export
Export Data from PEARS to Excel
Site Export Sections
Each export includes two data tabs: Codebook and Site Data. Exports may also include a Demographics tab, if applicable.
- Codebook
The first tab in every export lists details about the export, including: the name of the user who exported the data, a timestamp for the export, and a list of filters used when the data was exported.
Below the export details, a description of every field in the export is listed.
- Site Data
The next tab lists all of the data for the selected sites. This tab lists general information about the site, including: site id number, site name, address data, latitude and longitude, etc. This tab also lists information about the the setting selected.
The Site Data tab also lists the number of Program Activities, Indirect Activities Partnerships, Coalitions, PSE Site Activities, and Success Stories that include each site.
- Demographics
The next tab lists demographic data, if applicable. In the Manage Sites administration page, each site entry includes a section to optionally enter the overall demographic breakdown of a site. This data can be used to auto-calculate demographics in Program Activities and PSE Site Activities. If demographic data has been added to sites via the Manage Sites page during the current fiscal year, this data will be included in the site export.
Tips for Analyzing Export Data
- Enable editing
When the export file is first opened, it is in “protected view.” In order to edit the export, go to the top of the document and click the Enable Editing button.
- Freeze top row
If a large data set is exported, scrolling through the data will hide the column titles at the top of the page. To view the column titles at all times, use the “Freeze top row” feature in Excel. To enable this feature, select View from the toolbar. Then, click Freeze Panes and select Freeze Top Row.
- Filter and Sort
To analyze a sub-set of data, select Data from the toolbar and use the Sort and Filter features. For example, the site export is automatically sorted by site id. Alternatively, the sort feature could be used to sort the list by site name, city, zip code, setting, etc.
- Excel formulas
Excel formulas such as SUM, COUNT, and VLOOKUP can be helpful for data analysis. The VLOOKUP formula can help combine data that is listed in separate tabs.
NOTE:
The Sites export is only available for Programming Managers and Organization Administrators.
✓ TIP:
See the PEARS Directory for a list of your organization's Programming Managers and Organization Administrators
.
To add another user as a Programming Manager or Organization Administrator, please contact a current Organization Administrator.
To add another user as a Programming Manager or Organization Administrator, please contact a current Organization Administrator.
✓ TIP:
Click the Filter button to or use the Search bar to include inactive users or to narrow the list to a sub-set of sites. After selecting filter criteria, make sure to click the Apply button at the bottom of the filter list.
✓ TIP:
All Implementing Agencies in each state share the same list of sites. For example, if a site is added by one IA in Texas, all other IAs in Texas will also have access to view and edit the site.
NOTE:
Many fields listed for each site are optional (such as contact information and external id). Your organization can choose to list the optional information, if this would be helpful. Otherwise, these fields can be left blank.
NOTE:
For more information on adding demographics to a site, see the following article: Add Site Demographics.
✓ TIP:
It is most common to add demographic data for sites that are schools.
✓ TIP:
For more information on how to use Excel, please ask a colleague within your organization or see the documentation provided by Microsoft: https://support.microsoft.com/en-us/excel.


