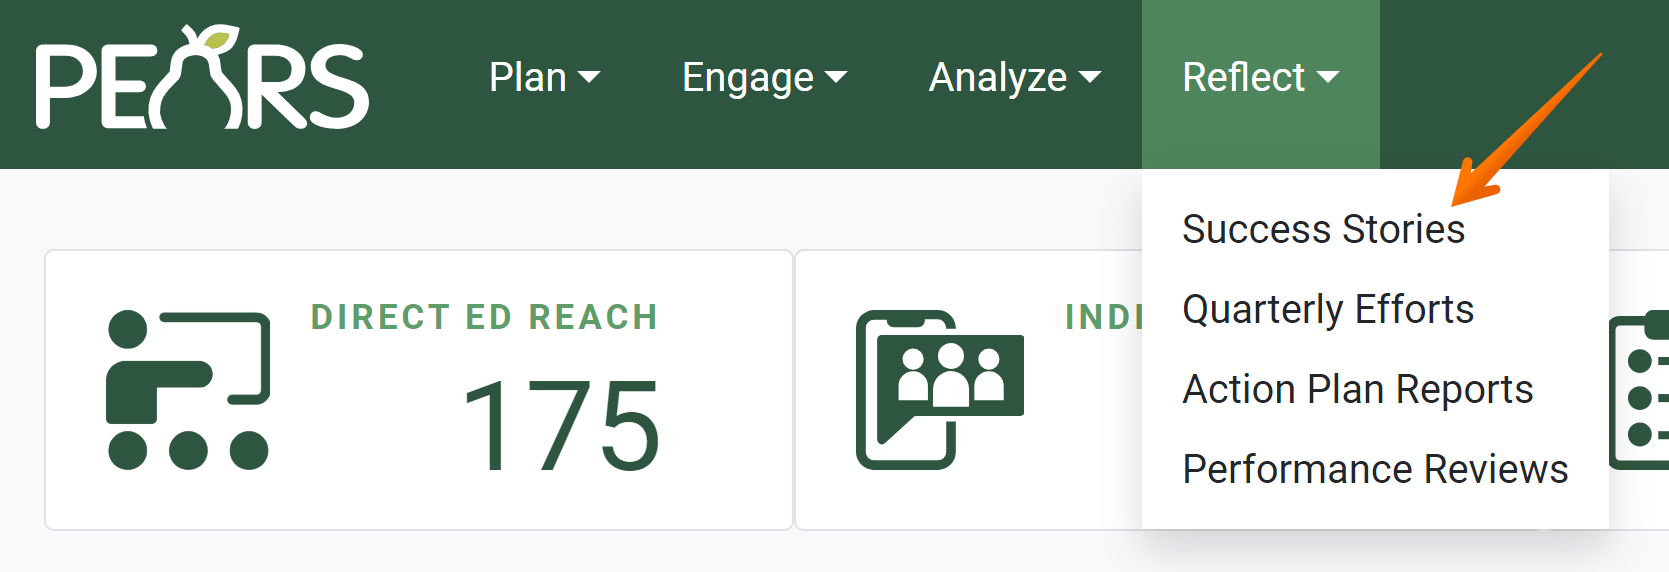
- From the PEARS homepage, hover over the Reflect menu and click Success Stories:

The Success Stories list displays. Click Add:

The General Information page displays.

- First, enter a Title to describe the Success Story.

- If applicable, select the program area associated with the Success Story.
Only one program area may be selected.
- Optionally, select the site or organization associated with the Success Story.

- From the drop-down list, select the Unit in which the Success Story occurred.

- Optionally, select a Program Activity associated with the Success Story.

- If applicable, in the Action Plan field, select an Action Plan associated with the Success Story.

- Optionally, select keywords associated with the Success Story.
To search for keywords, scroll through the drop-down list. Alternatively, start typing to filter the list.
- Optionally, in the Comments field, add any general information not captured in other fields.

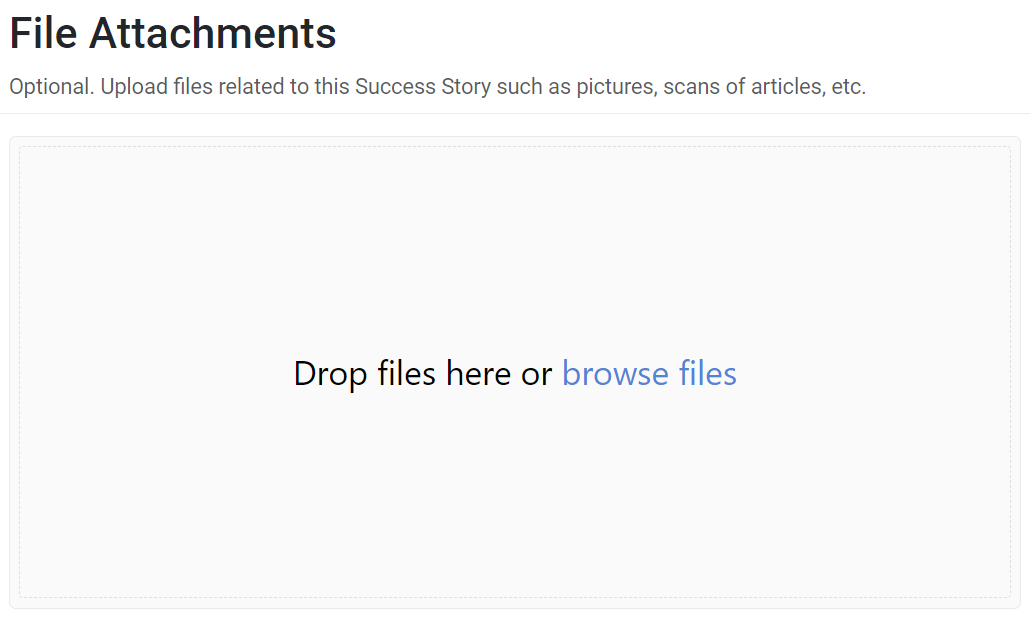
In the File Attachments field, upload related files as needed. To upload files, click Select to choose files from the computer’s file explorer. Alternatively, drag and drop files into the gray area.

You may upload many different types of files, including: Word documents, PDFs, Excel workbooks, jpg, png, and others.
- Click Save and continue to save the page and move to the next section, or click Save to save the current changes and view the record details.

✓ TIP:
Success Stories do not follow typical viewing permissions. In most modules, you can only view records you have entered yourself, but in Success Stories, all users within your organization can see each other’s records.
✓ TIP:
The red asterisk * next to the heading of a field indicates that the field is required. You will not be able to save the page until you have added input into that field.
✓ TIP:
The following fields only appear for Extension organizations:
Program Area
Action Plan
✓ TIP:
You can search for sites by the site name, or with any part of the address (street name, zip code, etc.) You can also search for sites by the PEARS Id number associated with that site.
✓ TIP:
Program Activities listed include: all programs that you have entered, and all programs in which you are listed as a collaborator that contributed. Both incomplete and completed programs are listed. Only programs for the current reporting period are listed.
✓ TIP:
Action Plans listed include: all approved State level plans, individual plans, and plans in which you are listed as a collaborator that contributed. Both incomplete and completed plans are listed. Only plans for the current reporting period are listed.
✓ TIP:
For Extension organizations, Program Activities and Action Plans will only appear in the drop-down lists if a program area on the record matches the program area selected on the Success Story.
NOTE:
Do not record the story narrative in the Comments field. This will be recorded in the Story section.