- From the PEARS homepage, hover over the Reflect menu and click on Action Plan Reports:
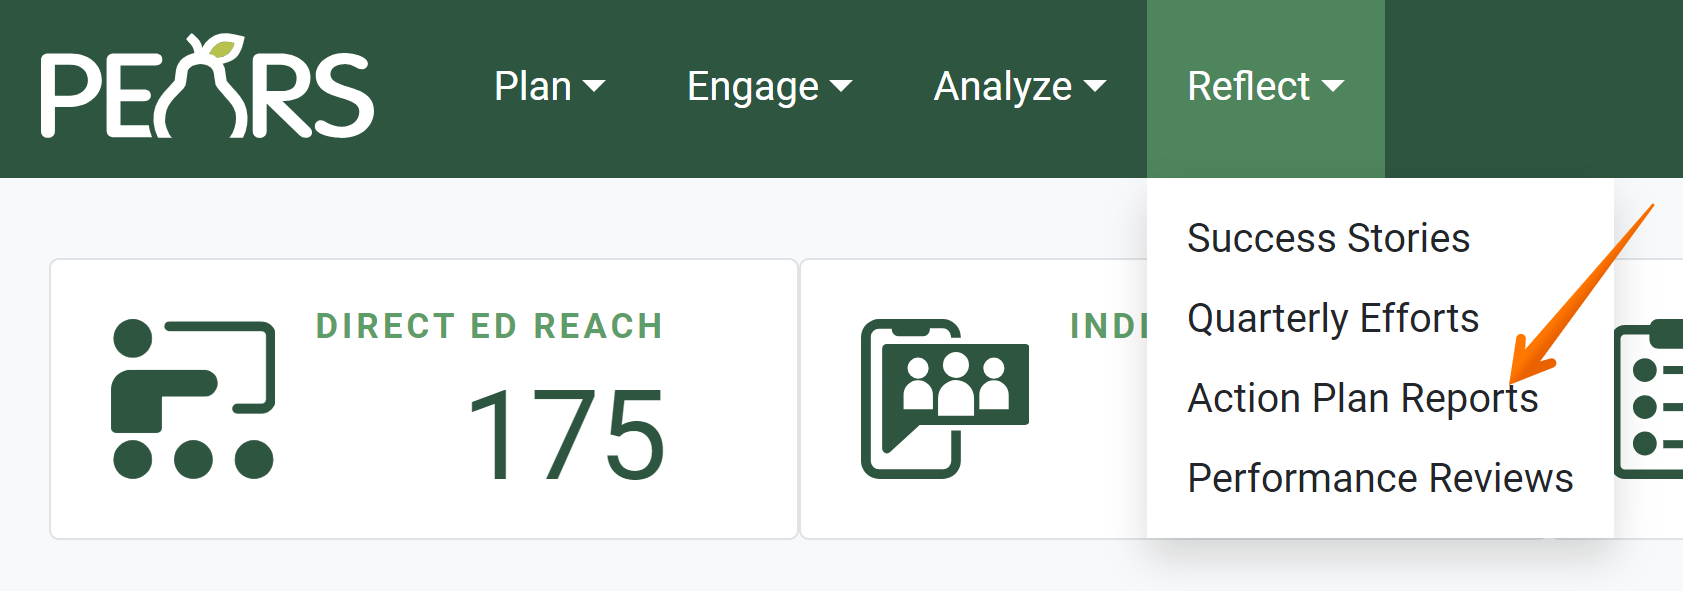
- The Action Plan Reports list displays. Click on the Add button:

The General Information page displays:
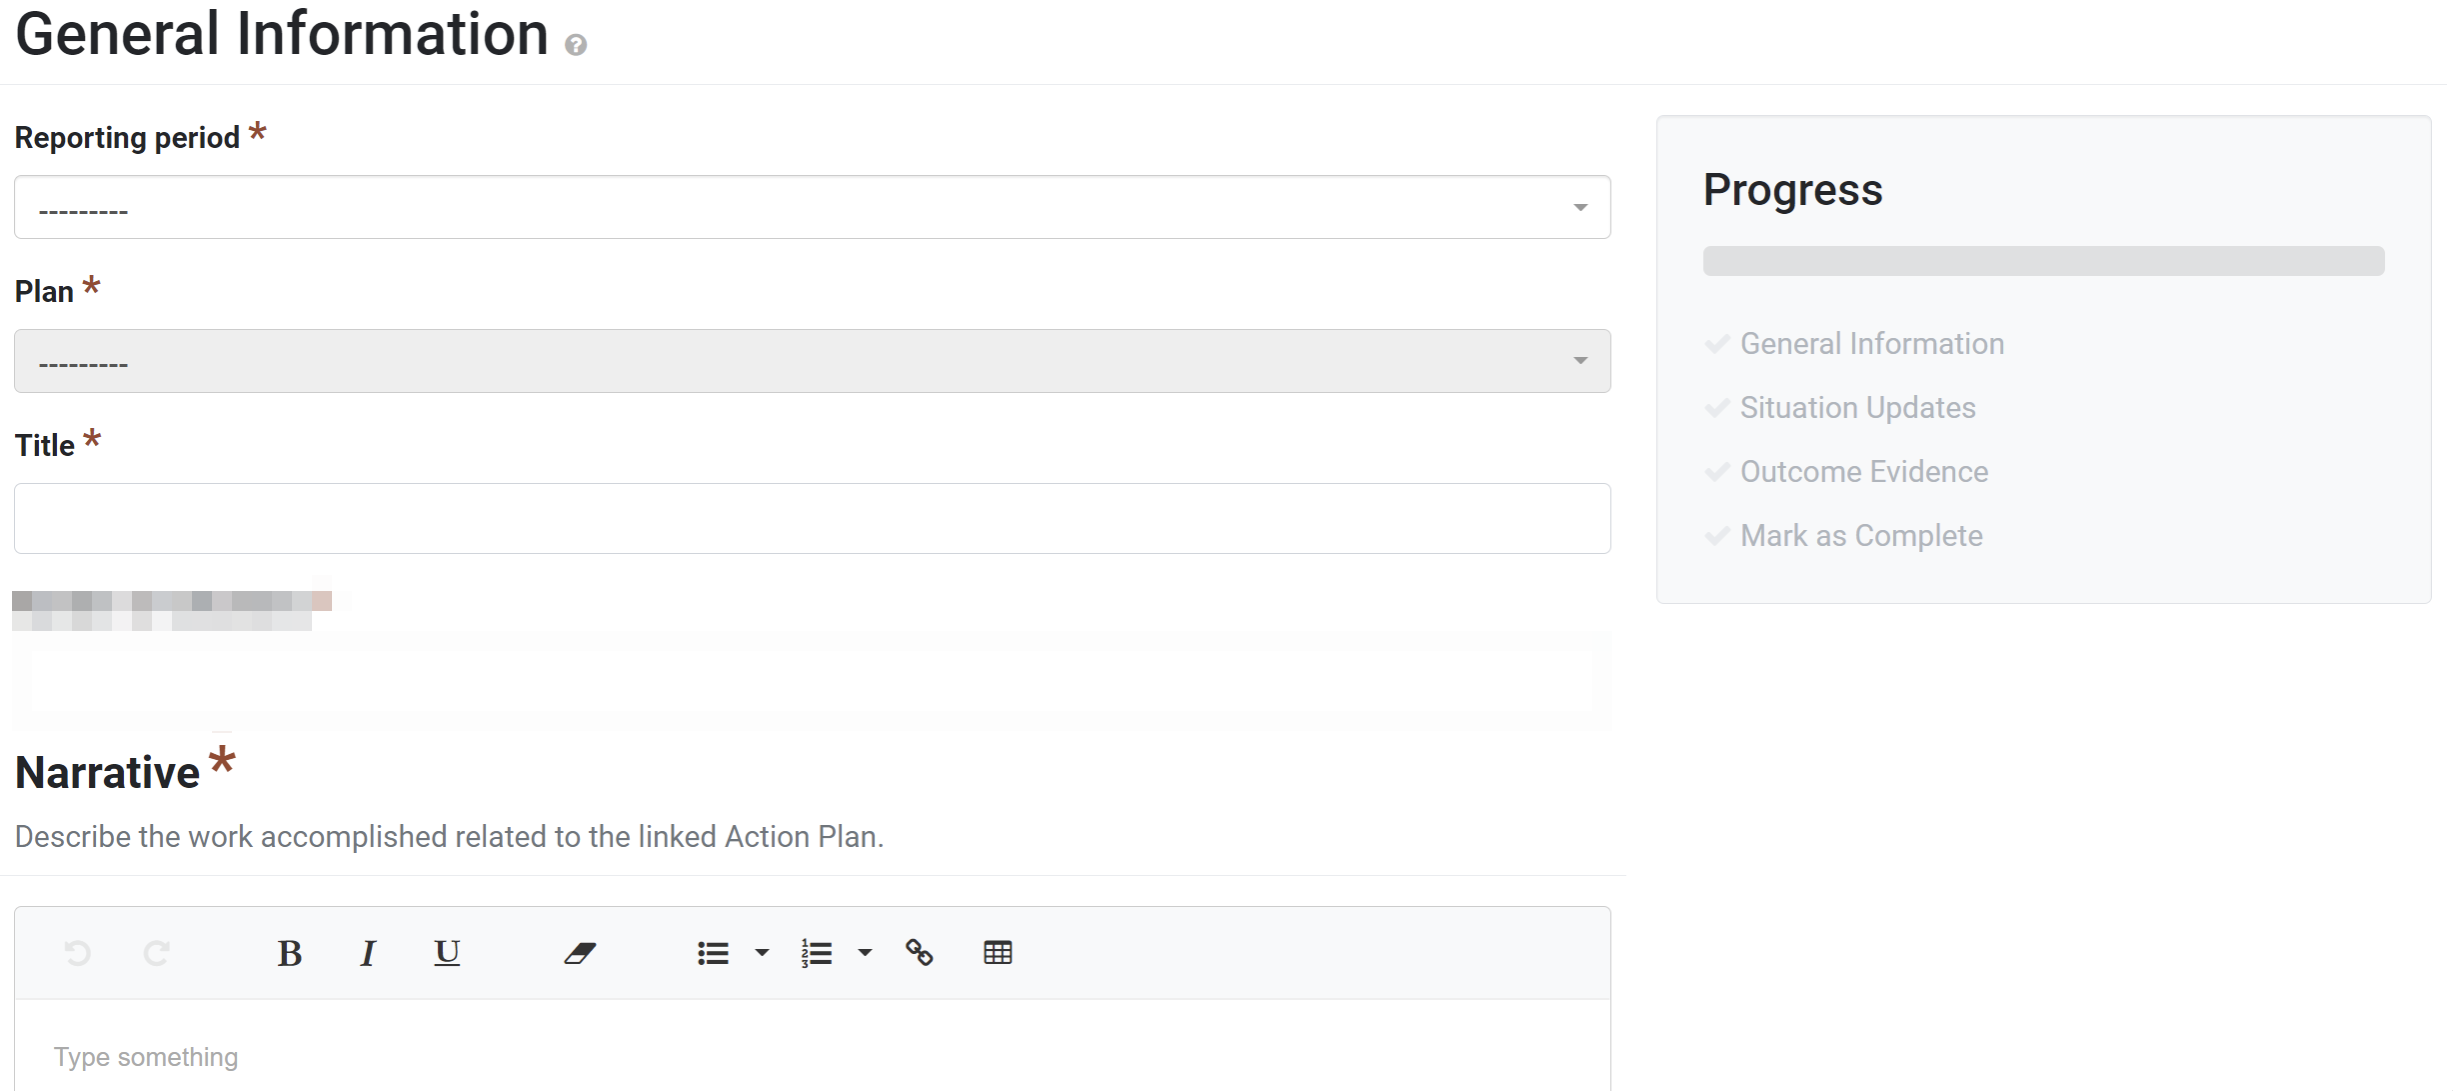
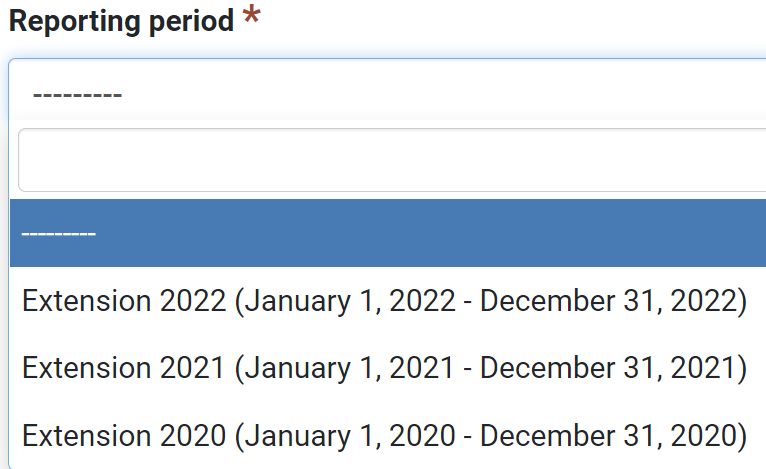
- In the field labeled Reporting period, assign a reporting period to the action plan report:
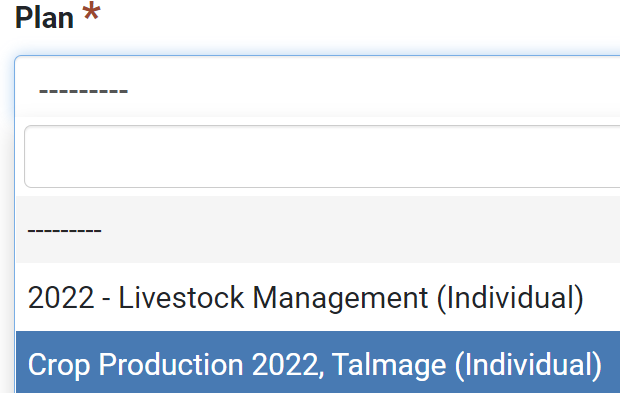
- Next, in the field labeled Plan, choose which plan this report corresponds to:
- The Title is automatically listed as [Name of the Action Plan] Report. As needed, adjust the title according to your organization’s reporting requirements.

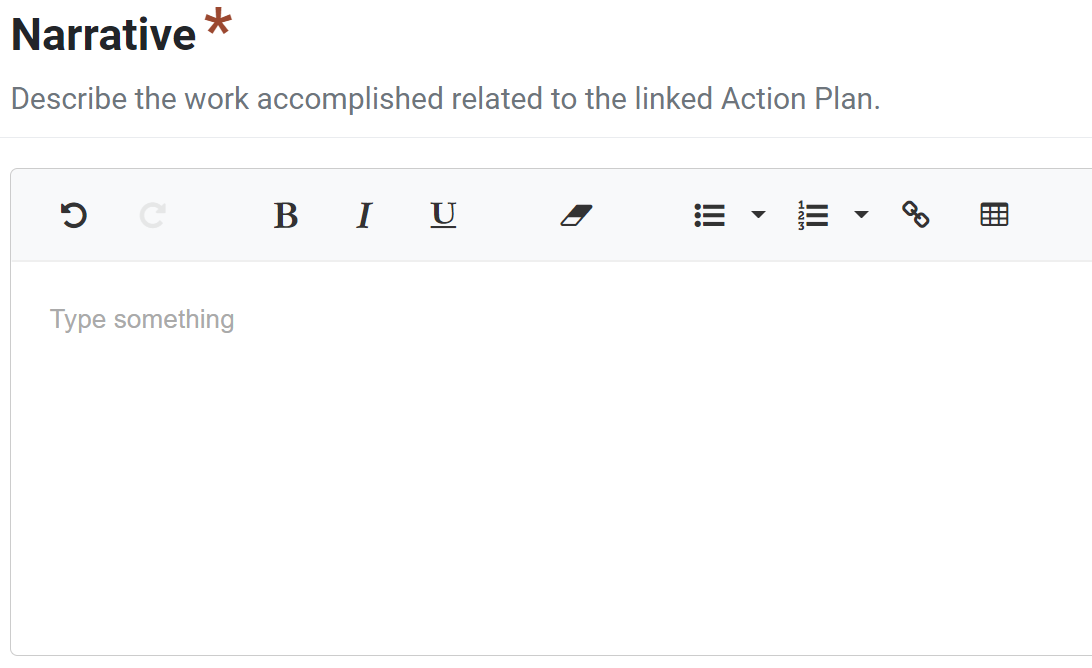
- In the Narrative field, describe the work accomplished related to the linked Action Plan.
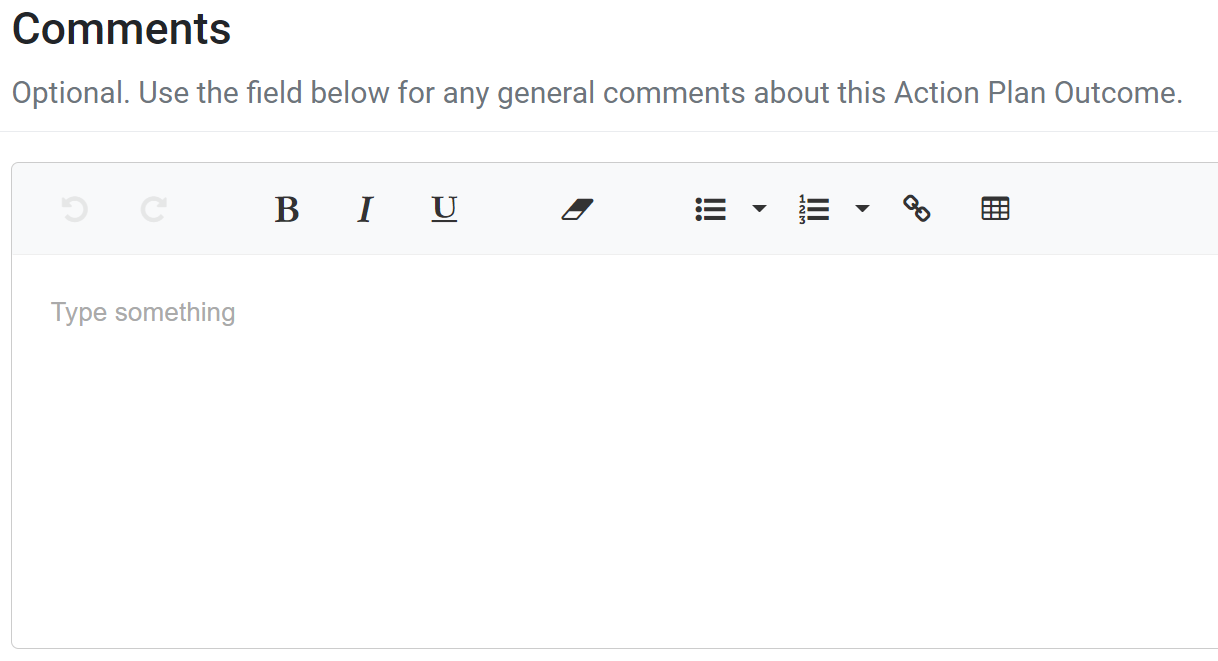
- Optionally, in the Comments field, add any general information not captured in other fields.
- In the File Attachments field, upload related files as needed. To upload files, click browse files to choose files from the computer’s file explorer. Alternatively, drag and drop files into the gray area.
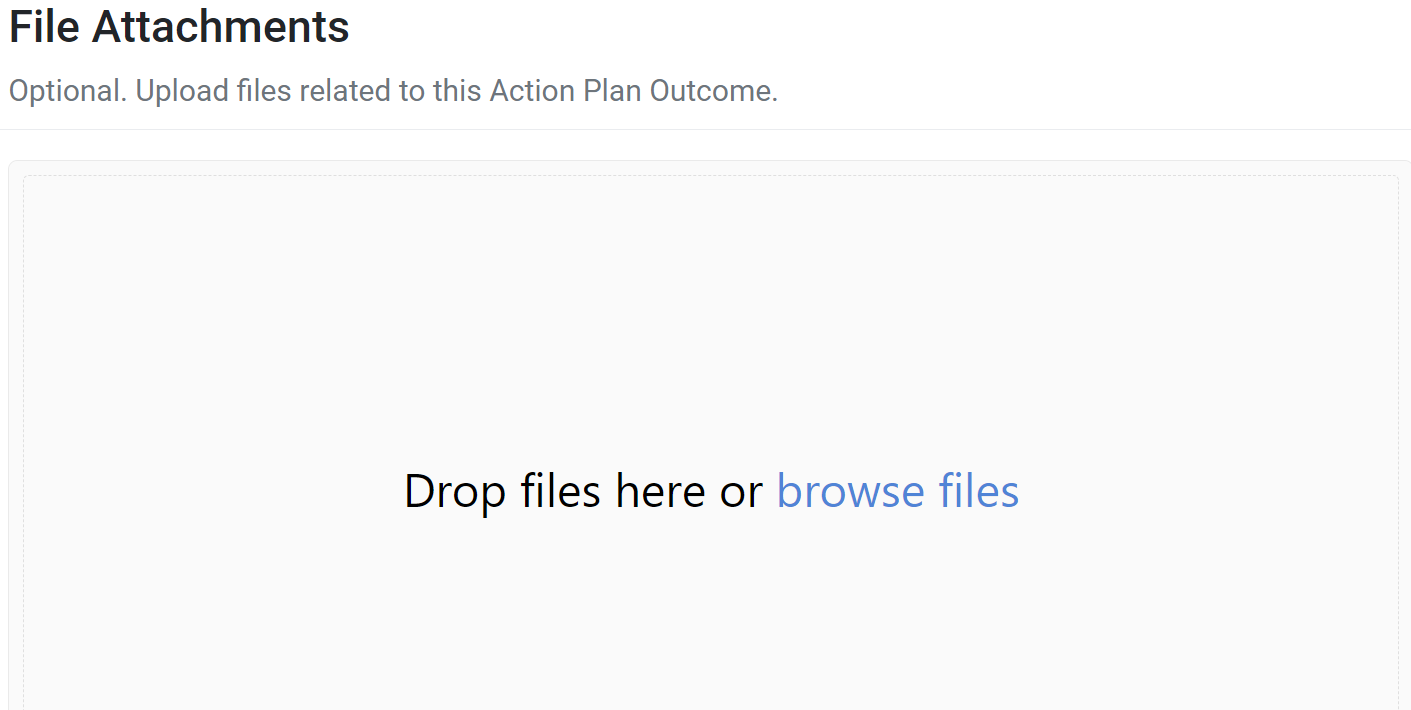
You may upload many different types of files, including: Word documents, PDFs, Excel workbooks, jpg, png, and others. - Click Save and continue to save the page and move to the next section, or click Save to save the current changes and view the record details.

✓ TIP:
The red asterisk * next to the heading of a field indicates that the field is required. You will not be able to save until you have added input into that field.
✓ TIP:
The records listed in the Plan field include all action plans that you have entered and all plans in which you are listed as a collaborator that contributed for the reporting period selected.
✓ TIP:
You can create multiple action plan reports for each action plan.
NOTE:
Do not record short term, medium term, or long term evidence in the Narrative or Comments fields. This will be recorded in the Outcome Evidence section.