This support document provides step-by-step instructions on registering as an attendee for an event.
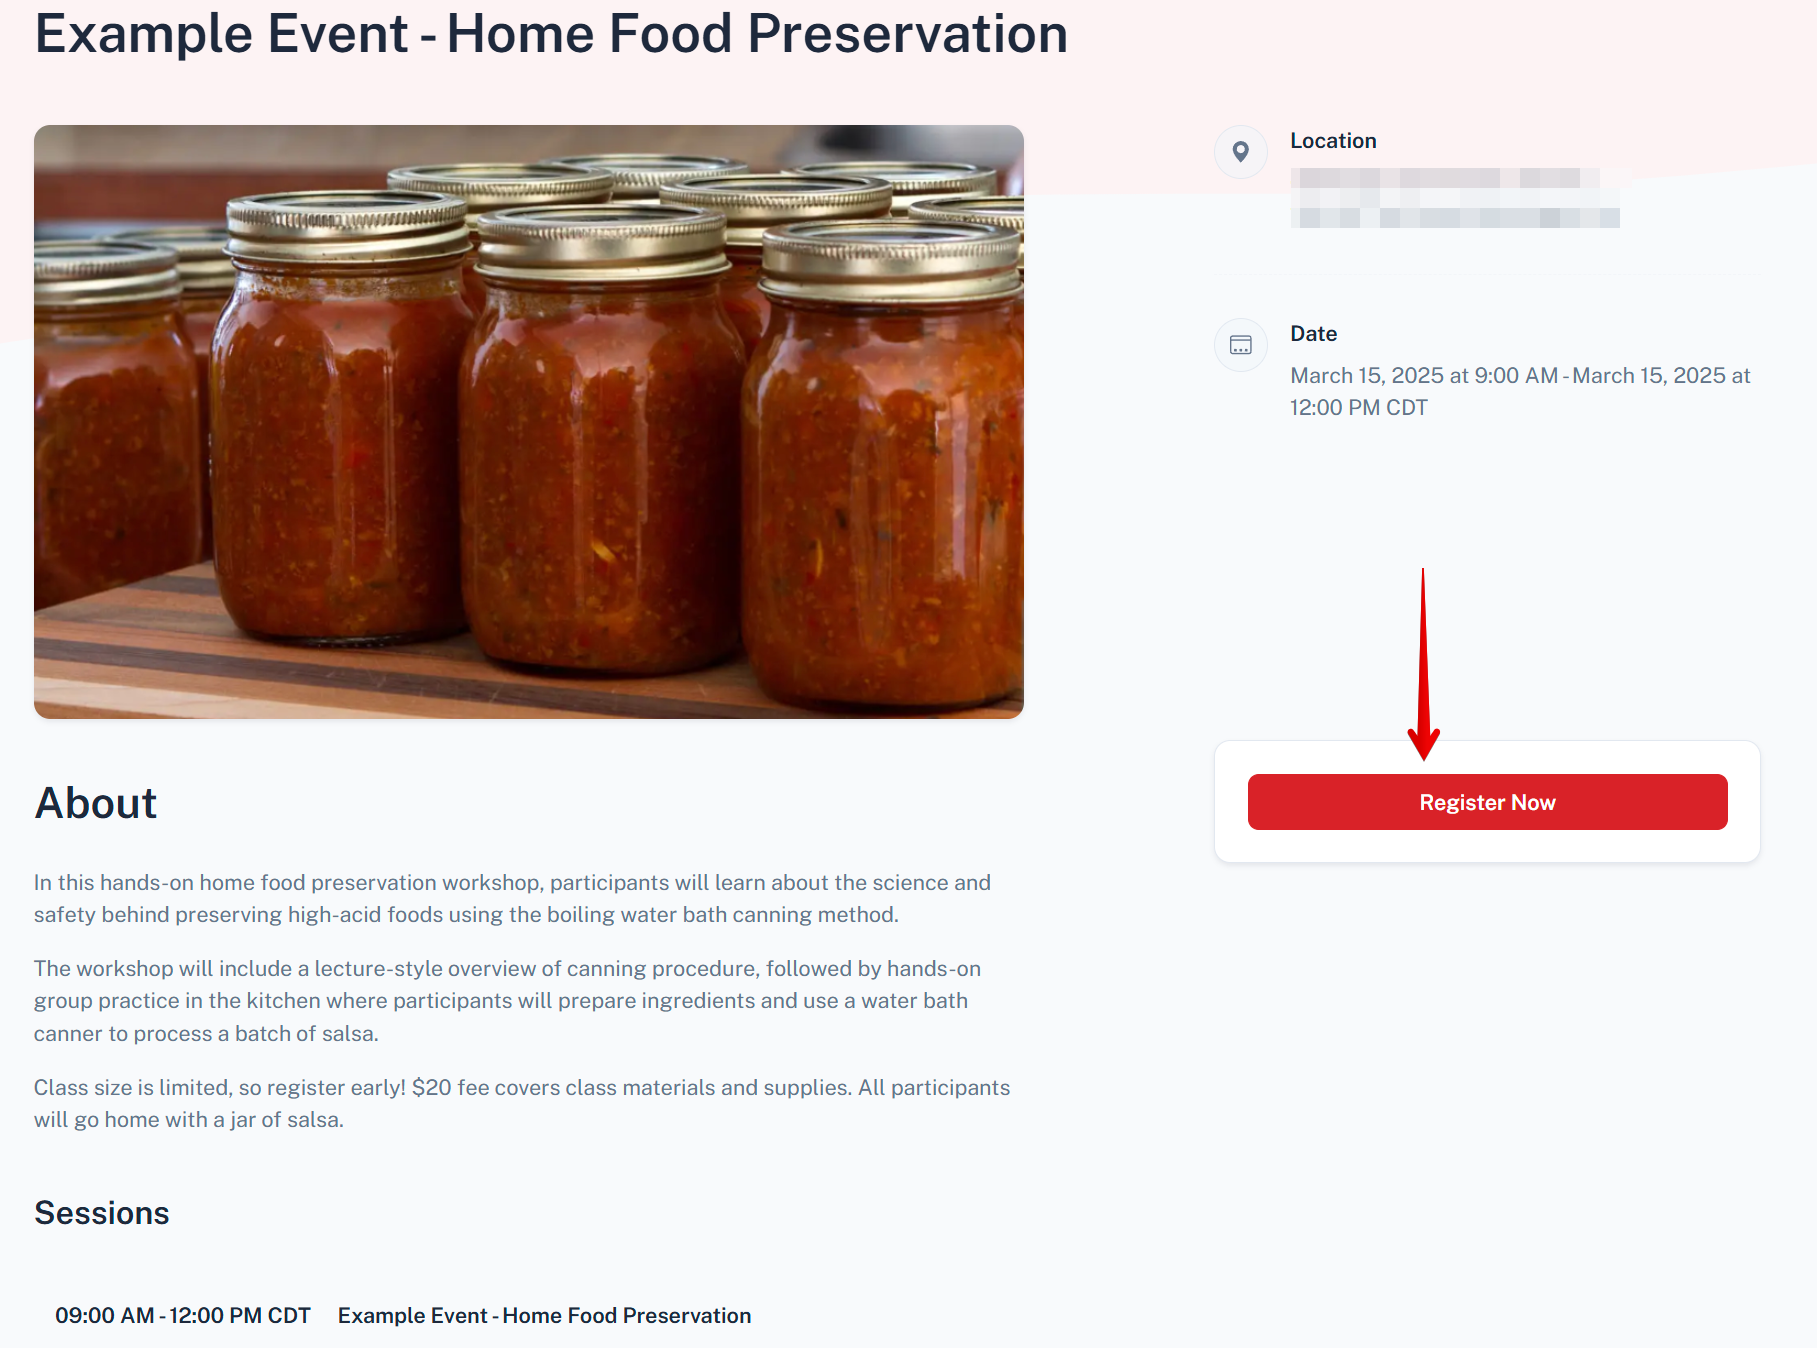
From the organization’s main event page, select the event you plan to register for, opening the event details. Click on Register Now.
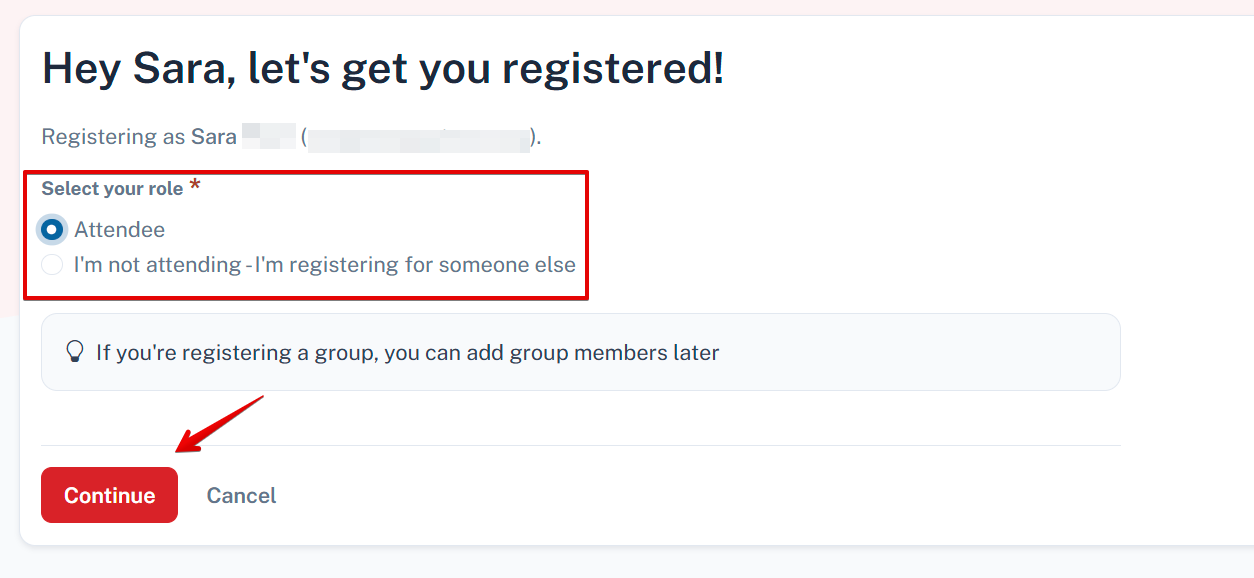
The registration workflow will open, where attendee name and email address will be entered. Next, you will select your role. The two options are Attendee or I’m not attending – I’m registering for someone else. If you are both attending and registering a group, additional group members will be added later. Click Continue to move forward with the selected role.
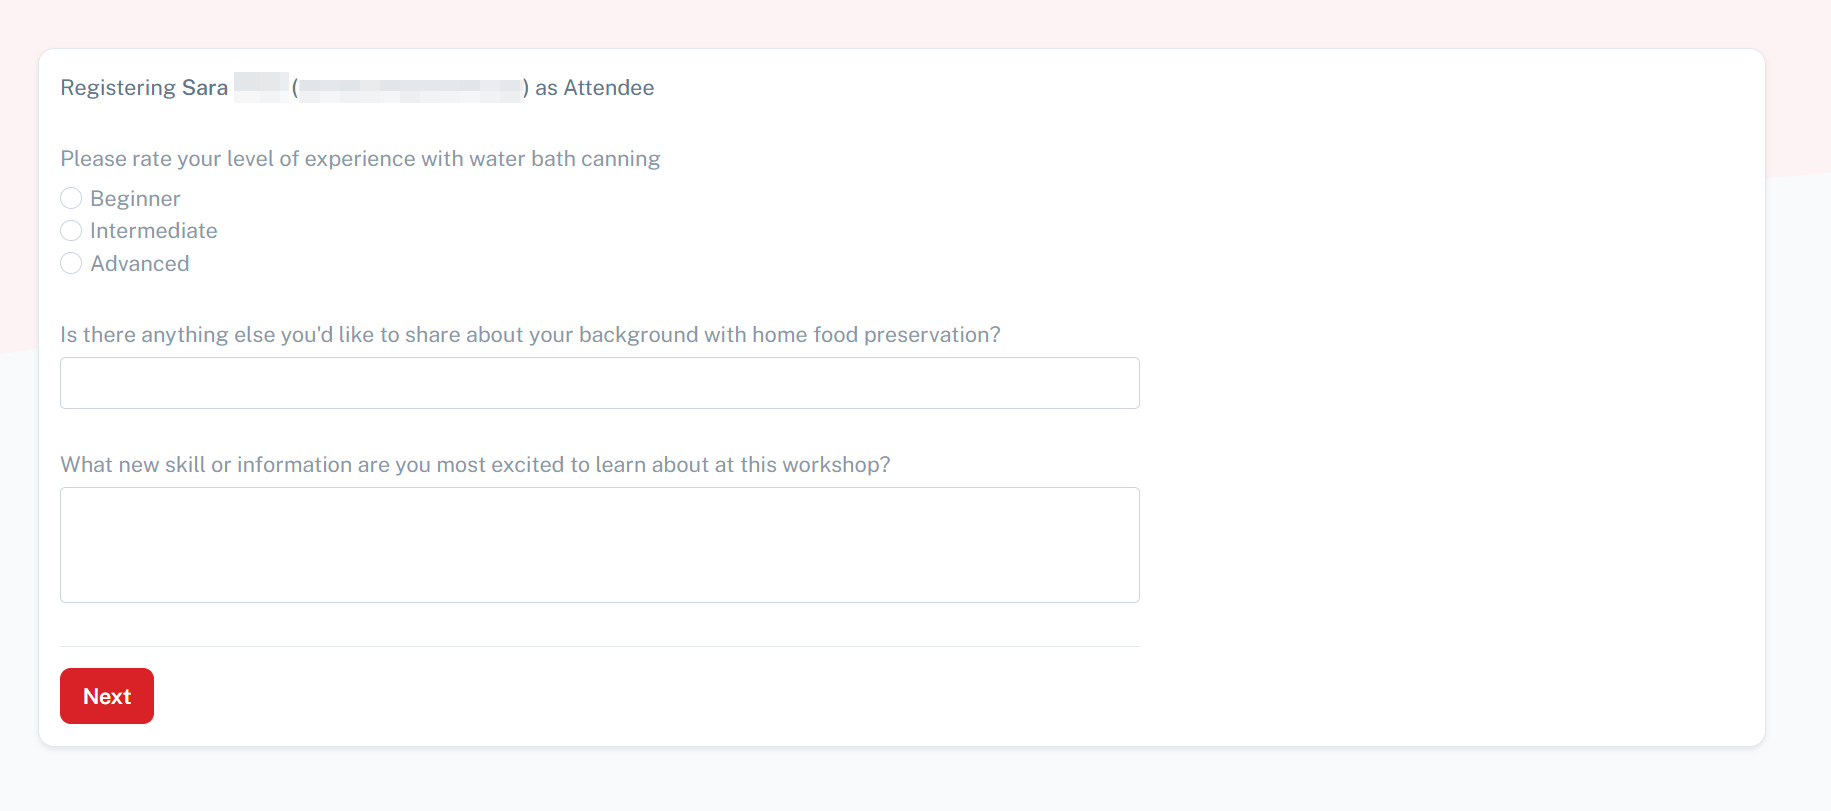
In the next step, additional registration information specific to the event will be collected. Information varies by organization and event, and any required fields will be indicated by red asterisks. Click Next once the form is complete.
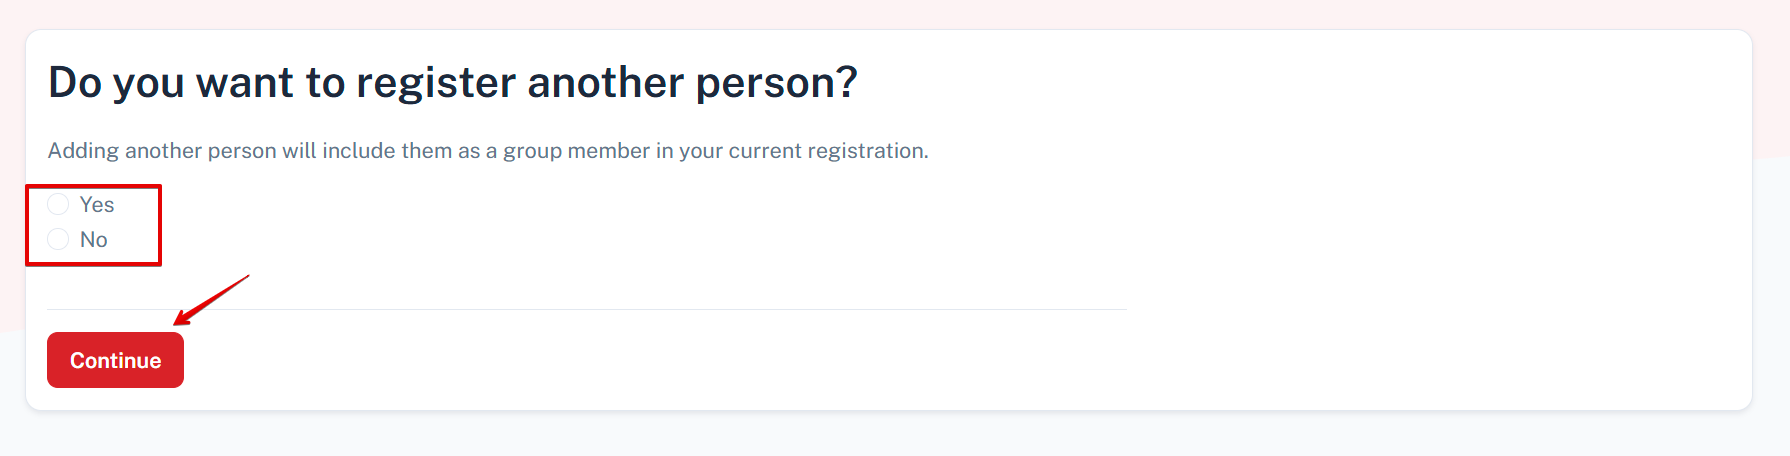
If there are additional attendees to register for the event, select Yes. If there are no other attendees to register in the group, click No. Depending on your selection, clicking Continue will either prompt you to enter the information for the additional attendees, or move you to the next step in the registration process.
Once all attendees have been added to the registration, the registration “order” will be displayed for review. Here you can view a list of all attendees, see the registration subtotal, enter a promo code (if applicable), and view the total dollar amount for the order. Click the appropriate Pay With button to choose payment method and review any payment instructions. Once all details are confirmed, click Complete Registration to submit.

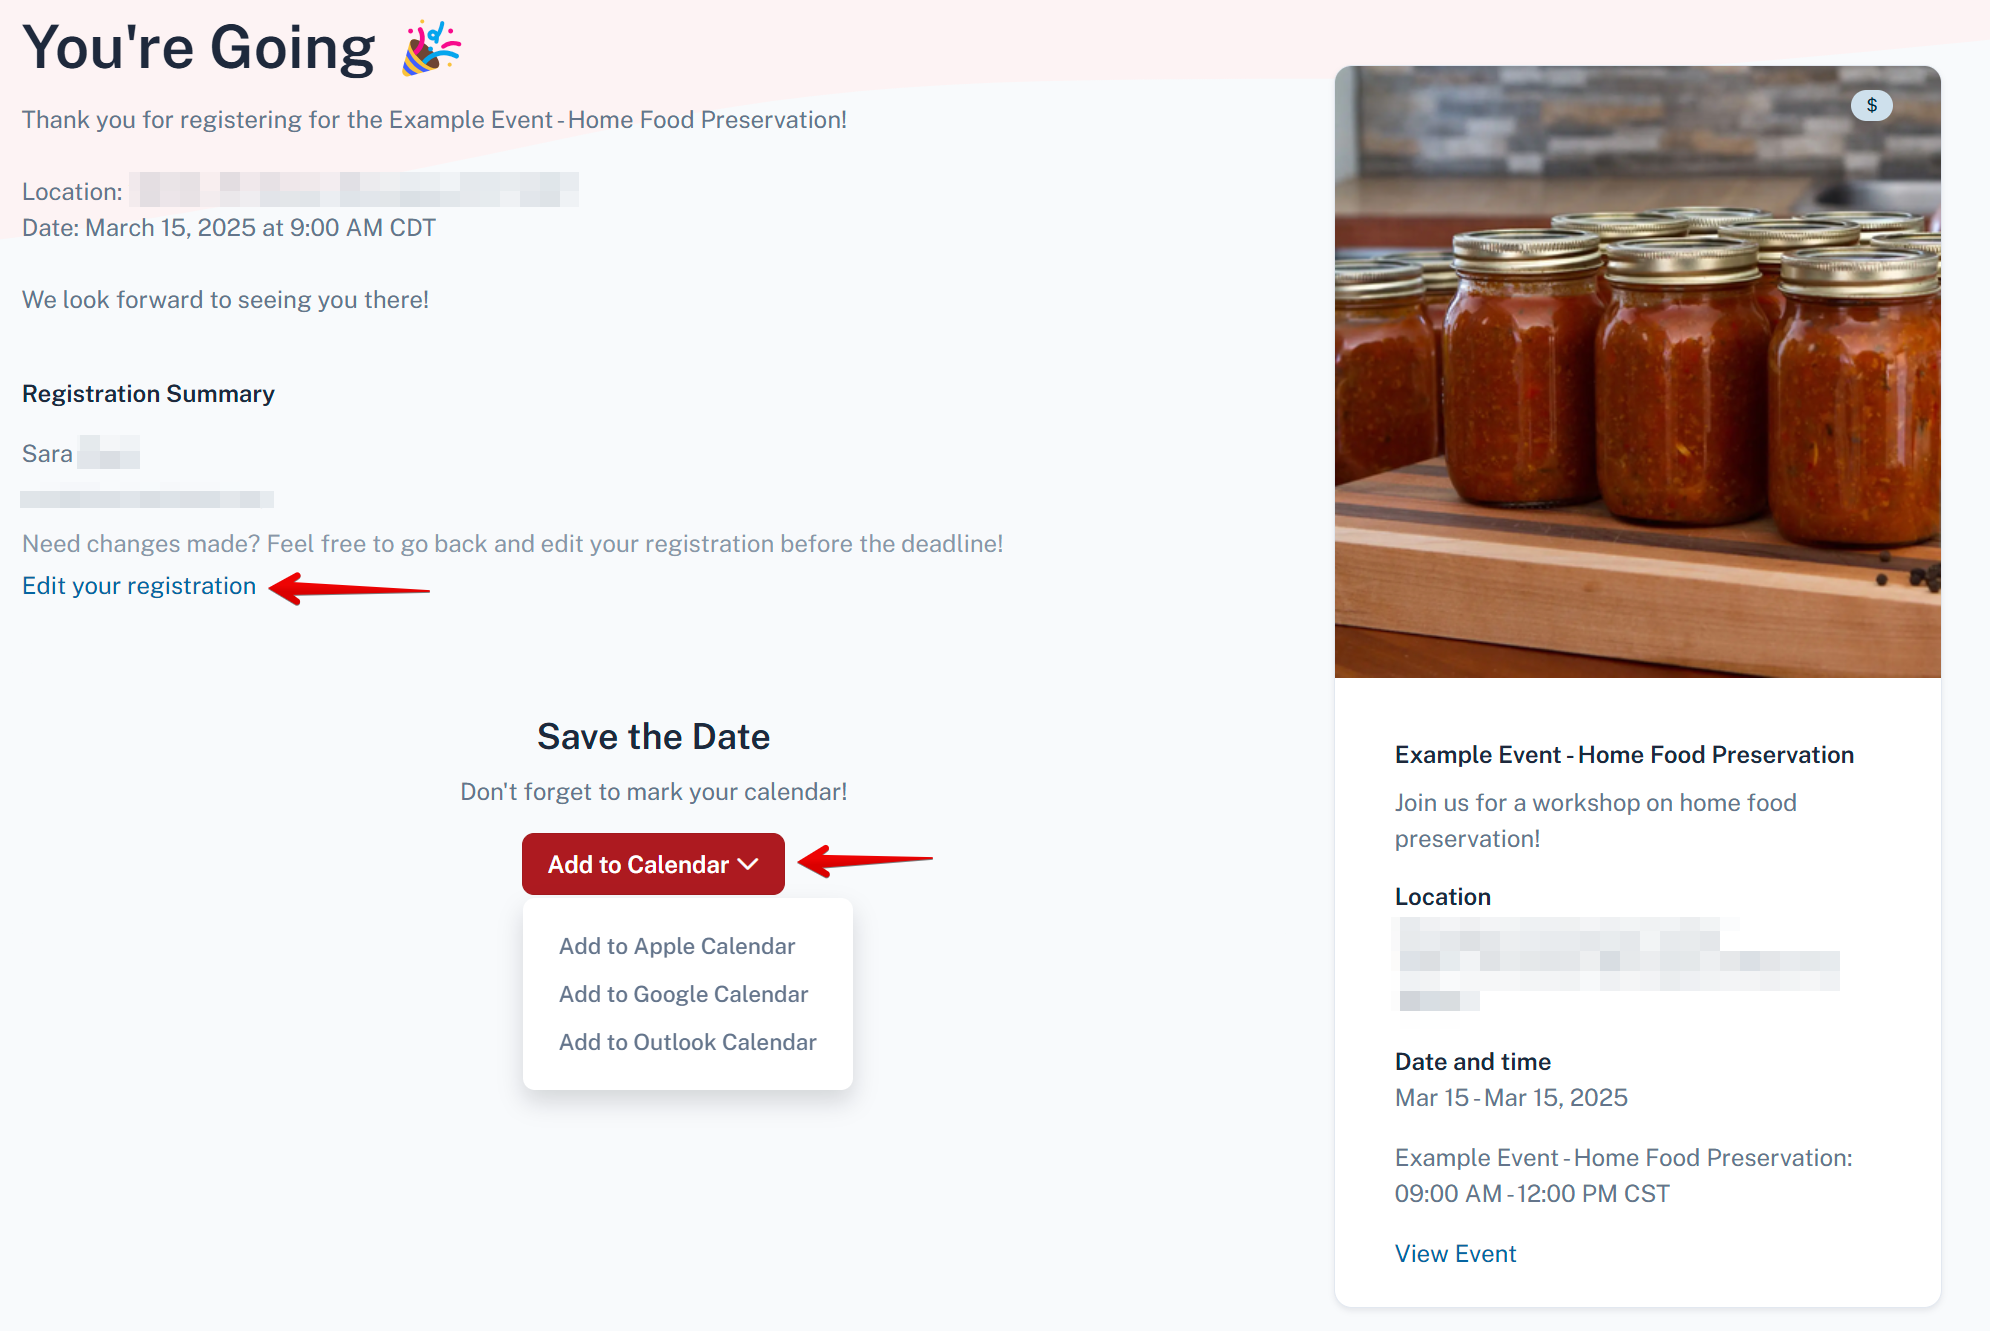
Registration is confirmed with the message: “You’re Going“, and summary of registration and event details. Confirmation details will also be sent via email to the attendee. If needed, the registration may be edited before the event registration deadline by clicking ‘Edit your registration’ in the center of the page. Click the Save the Date button to add the event to Apple, Google, or Outlook calendars, if desired.