Navigate to the Plan menu to the Community Events module.
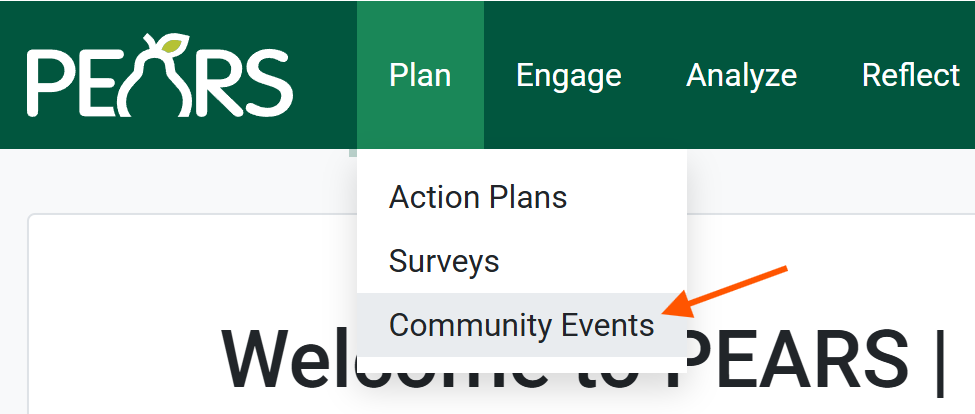
Click the Add button to create a new event.

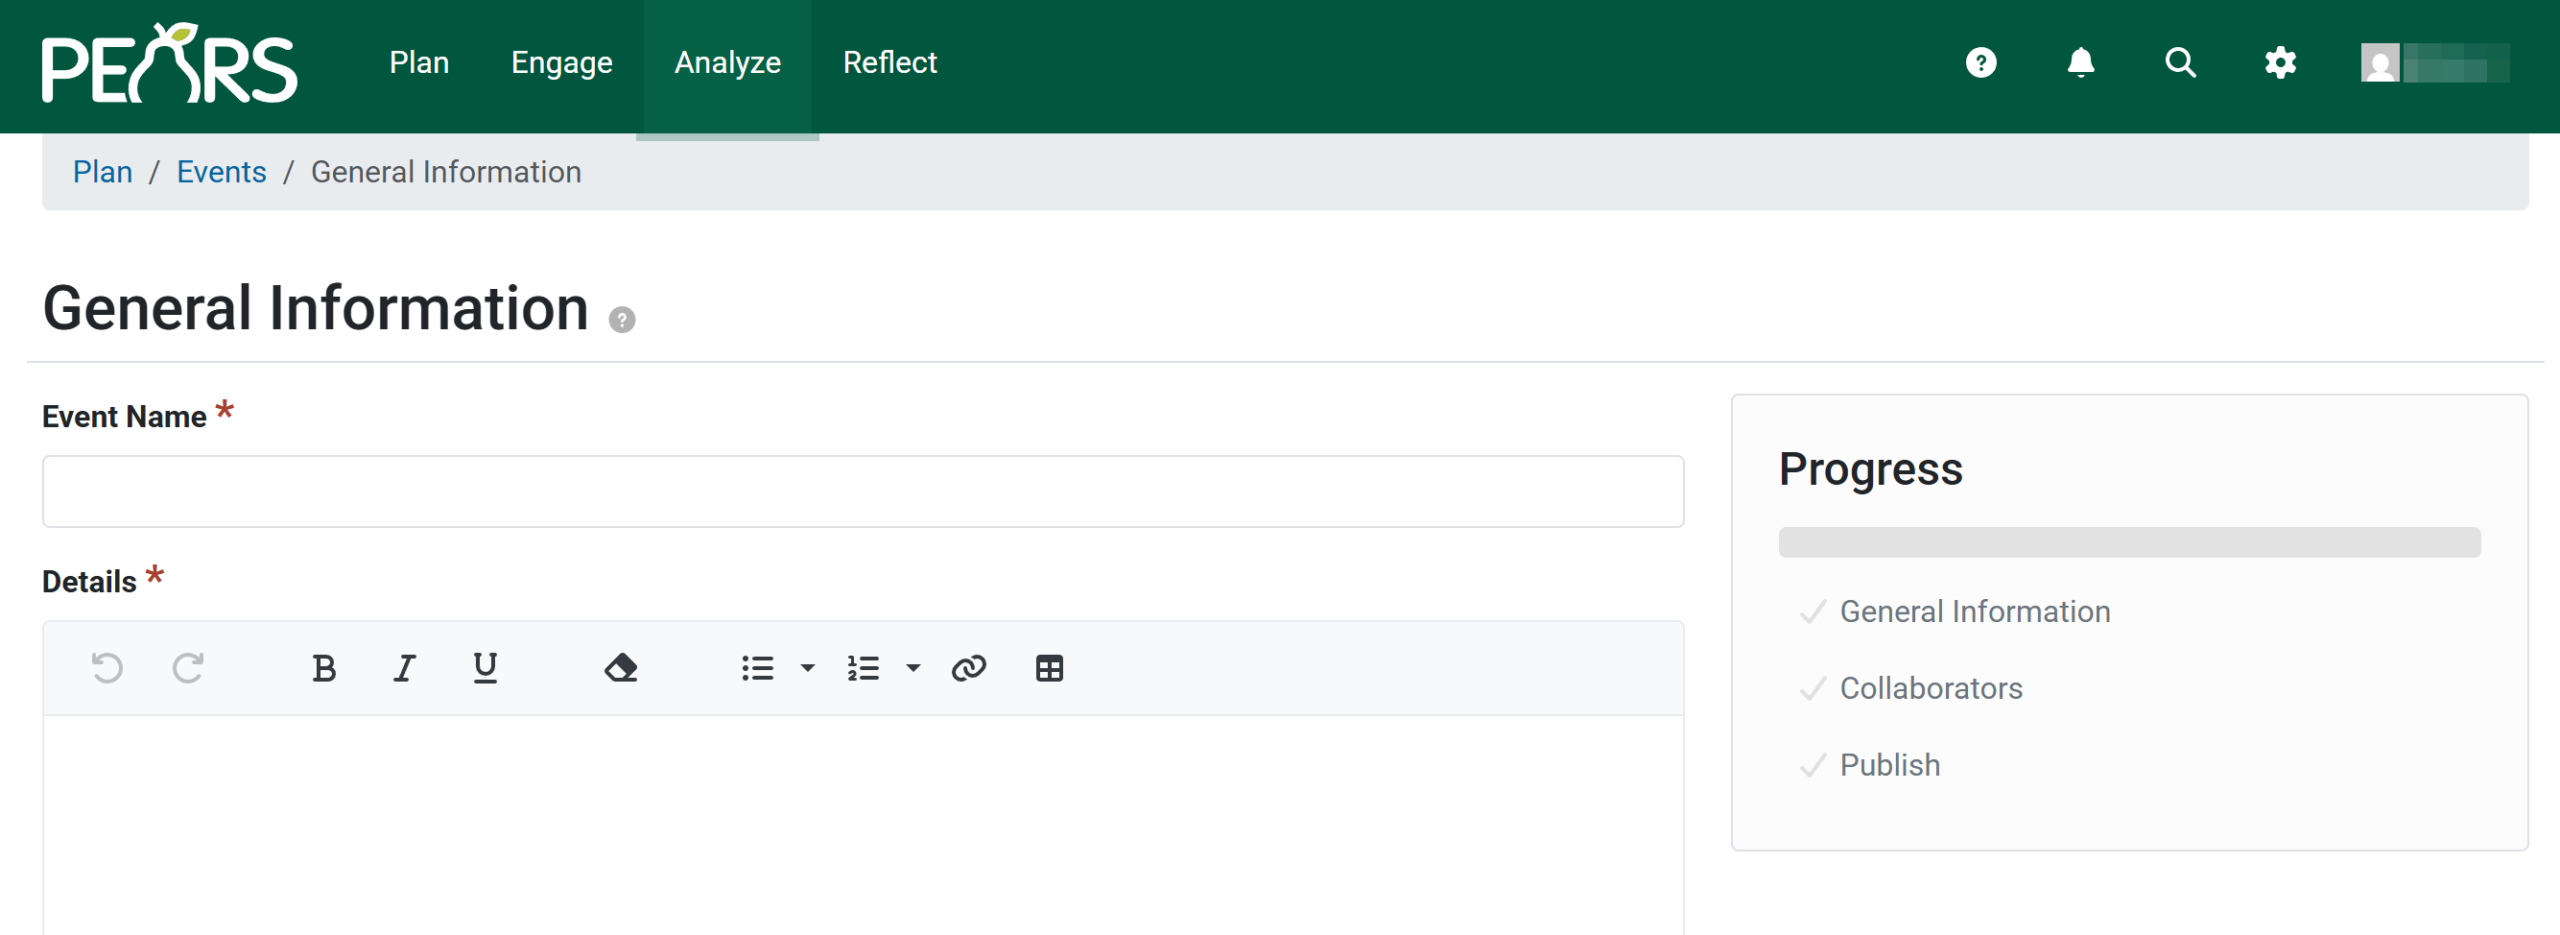
The General Information section opens, where basic event details about the event are added.
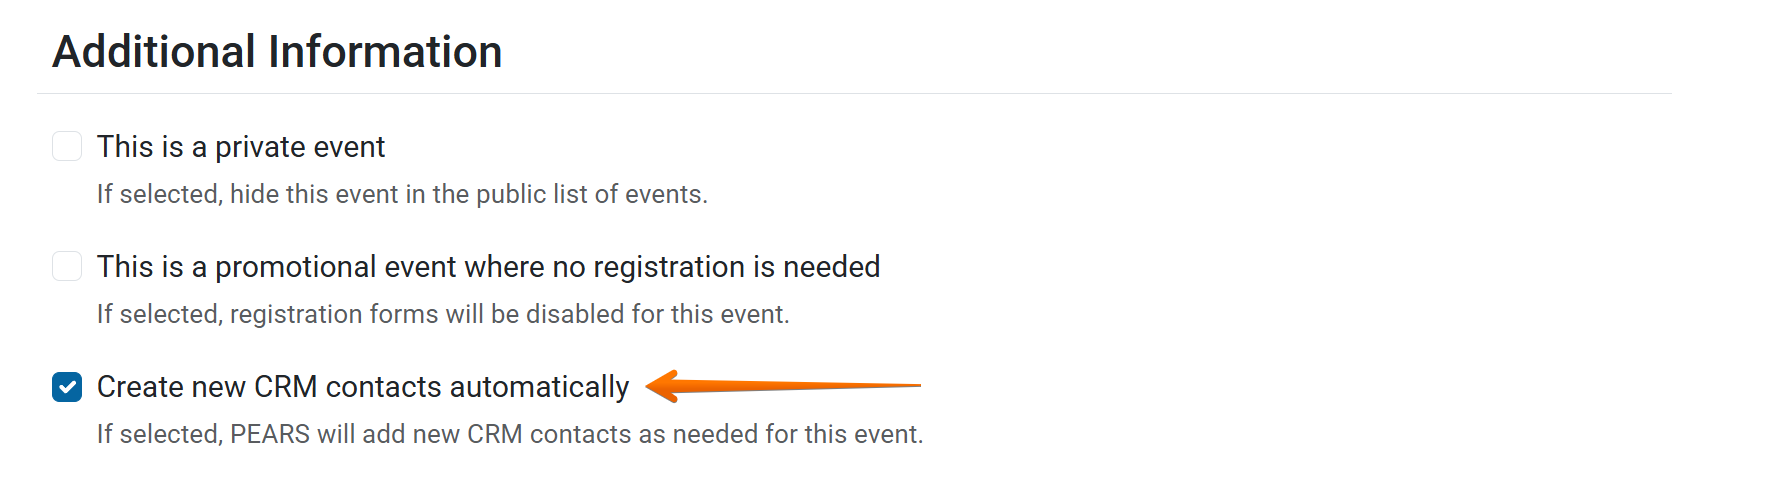
Further down the page, under the Additional Information section, choose whether you would like to add registrants who sign up for this event to the CRM (Community Relationship Manager).
If this box is checked, PEARS will add registrants to the CRM automatically from the specified event. If unchecked, the registrants from the event will not be added to the CRM. This selection can be made an an event-by-event basis.
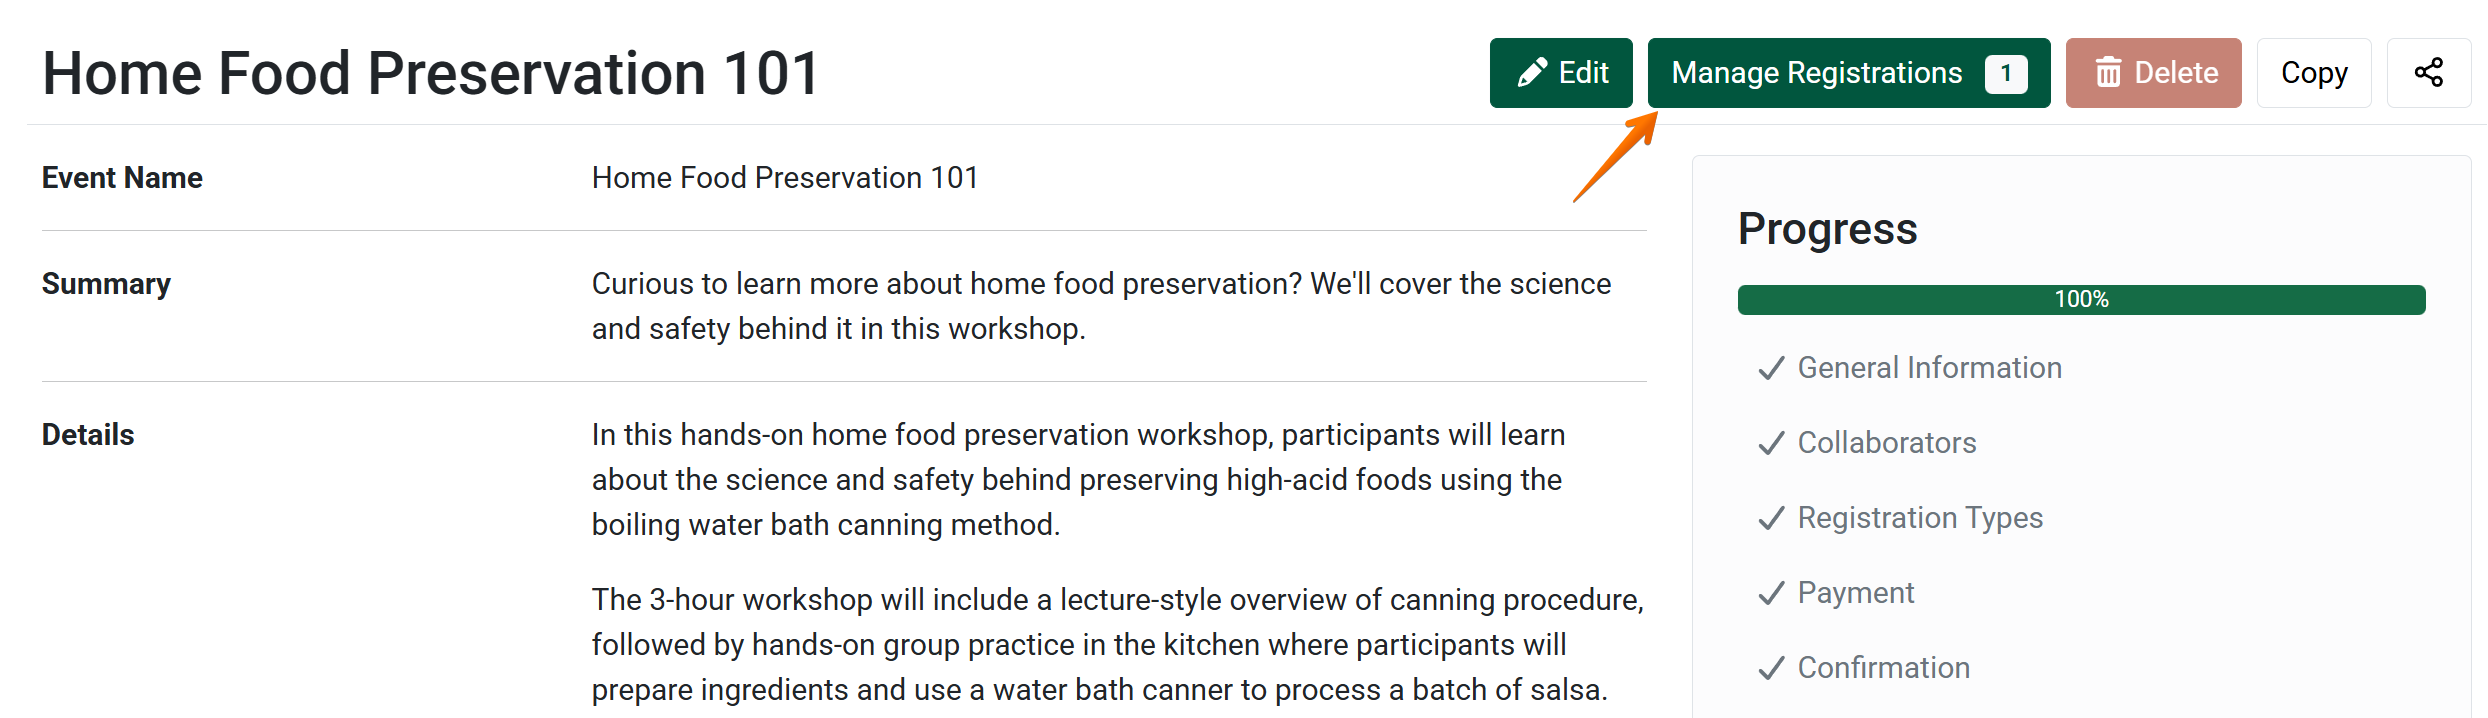
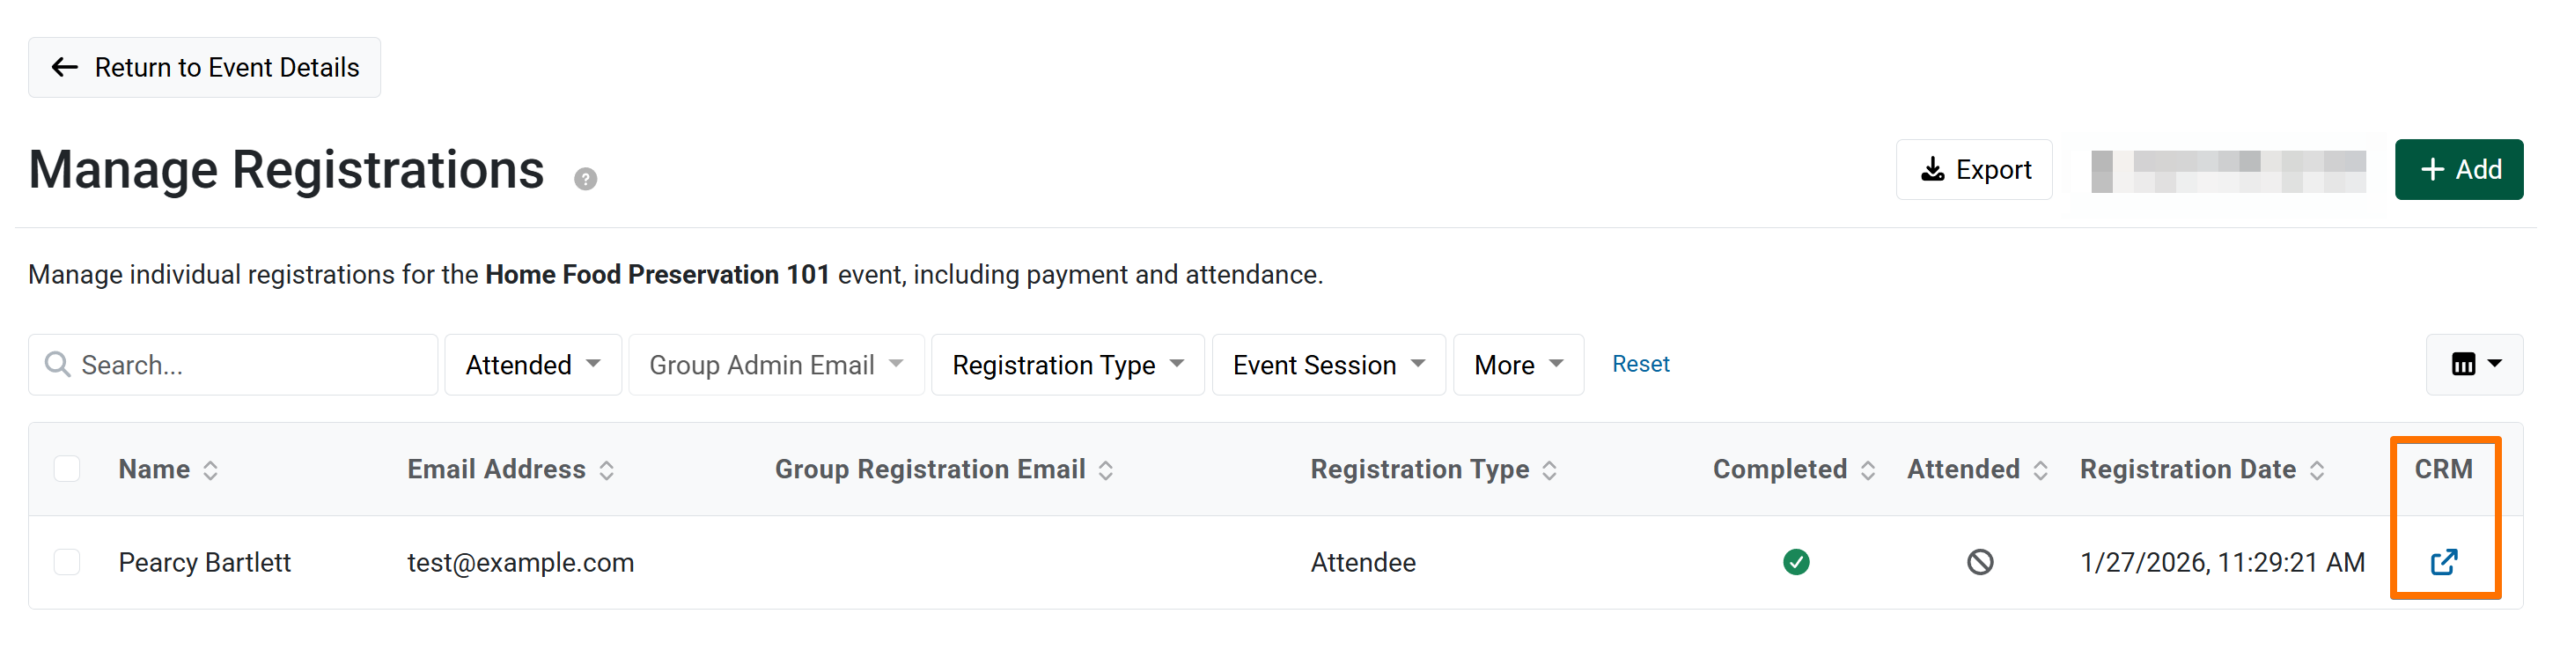
To view registrants signed up for the event, click Manage Registrations. If the option to add contacts automatically to the CRM was checked, contacts will be populated into the CRM as registrations are completed for the event.
Quickly navigate to the CRM from the Manage Registrations list using the redirect link under the CRM header in the registration list view.
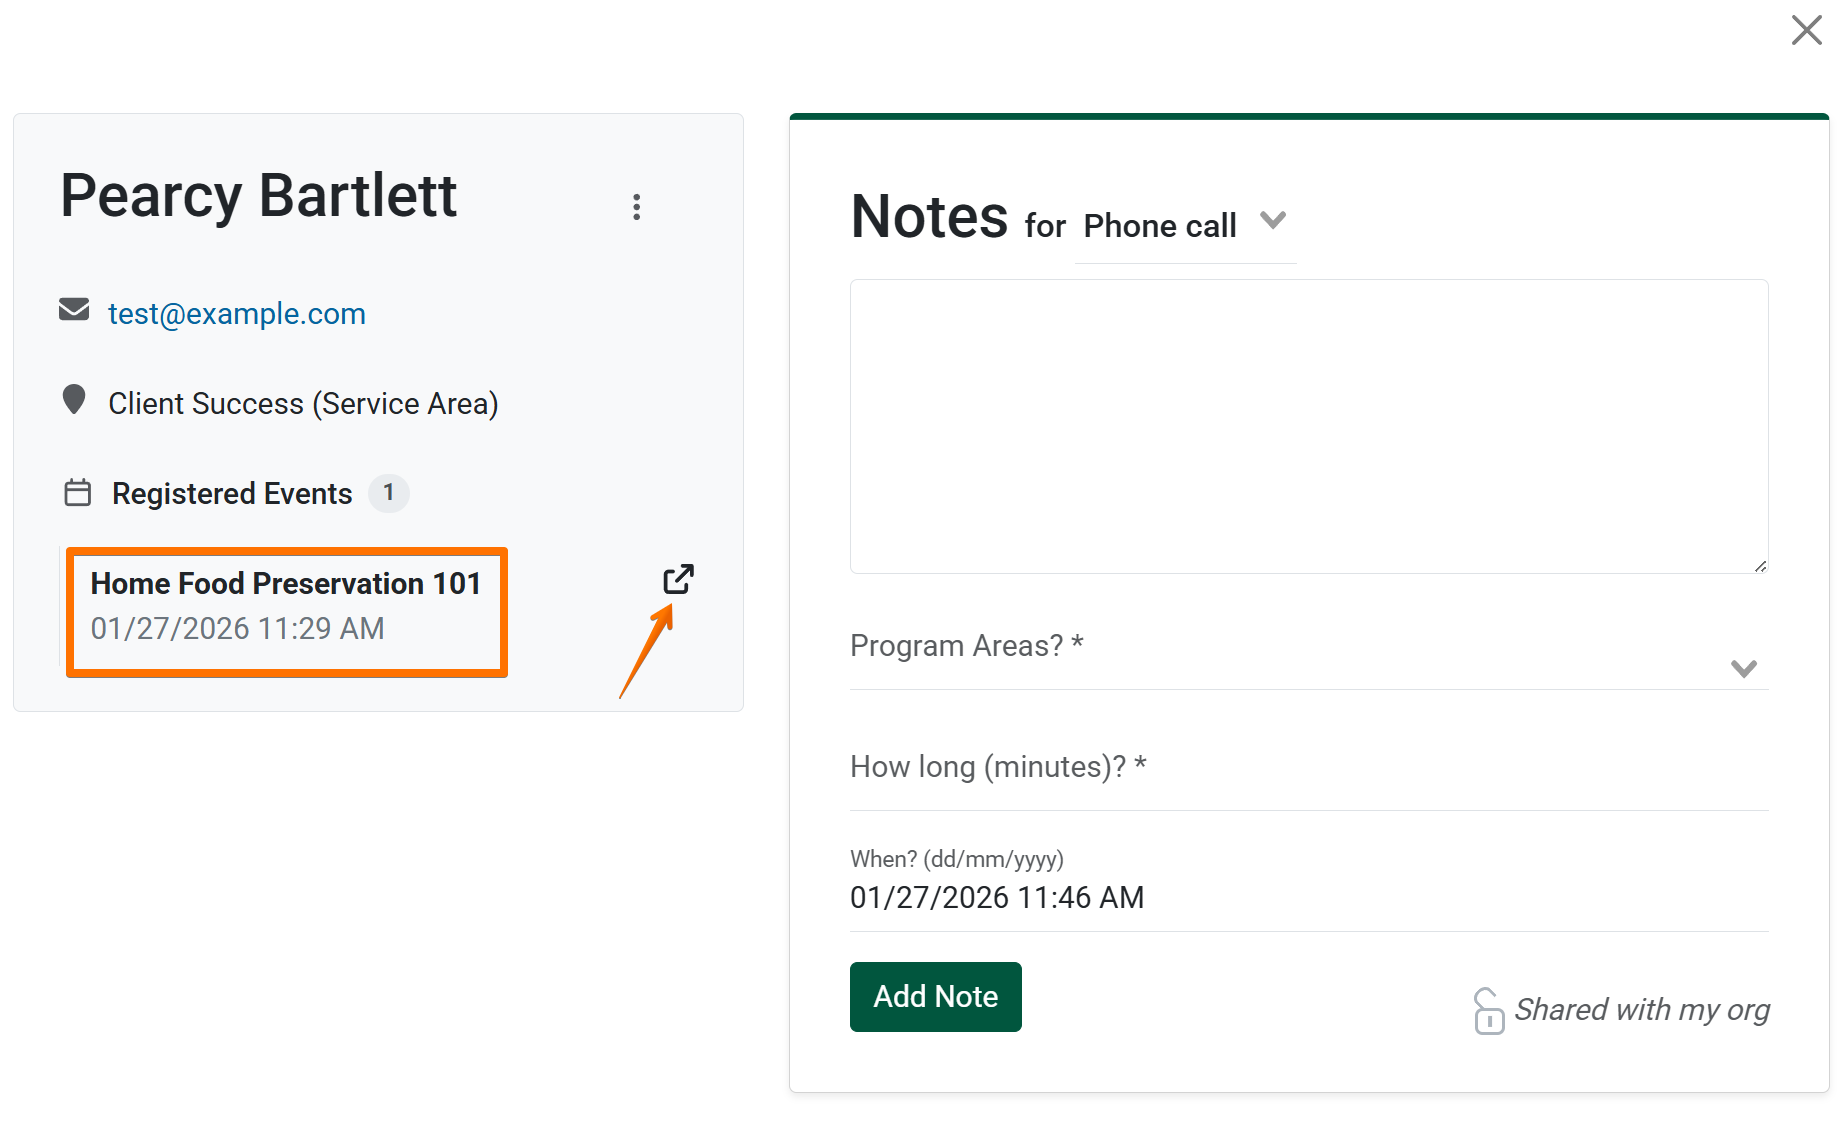
After selecting the redirect icon, a new tab will open, taking you directly to the specified contact in the CRM. Here you can view the event history of the contact, and other interaction history logged in the CRM.
Optionally navigate back to the registrant’s details for a specific event by clicking the redirect icon to the right of the event title.
Add Event Registrants to CRM
by Sara