After configuring the details for a registration type (attendee, sponsor/vendor, volunteer, other), the Form Builder appears.
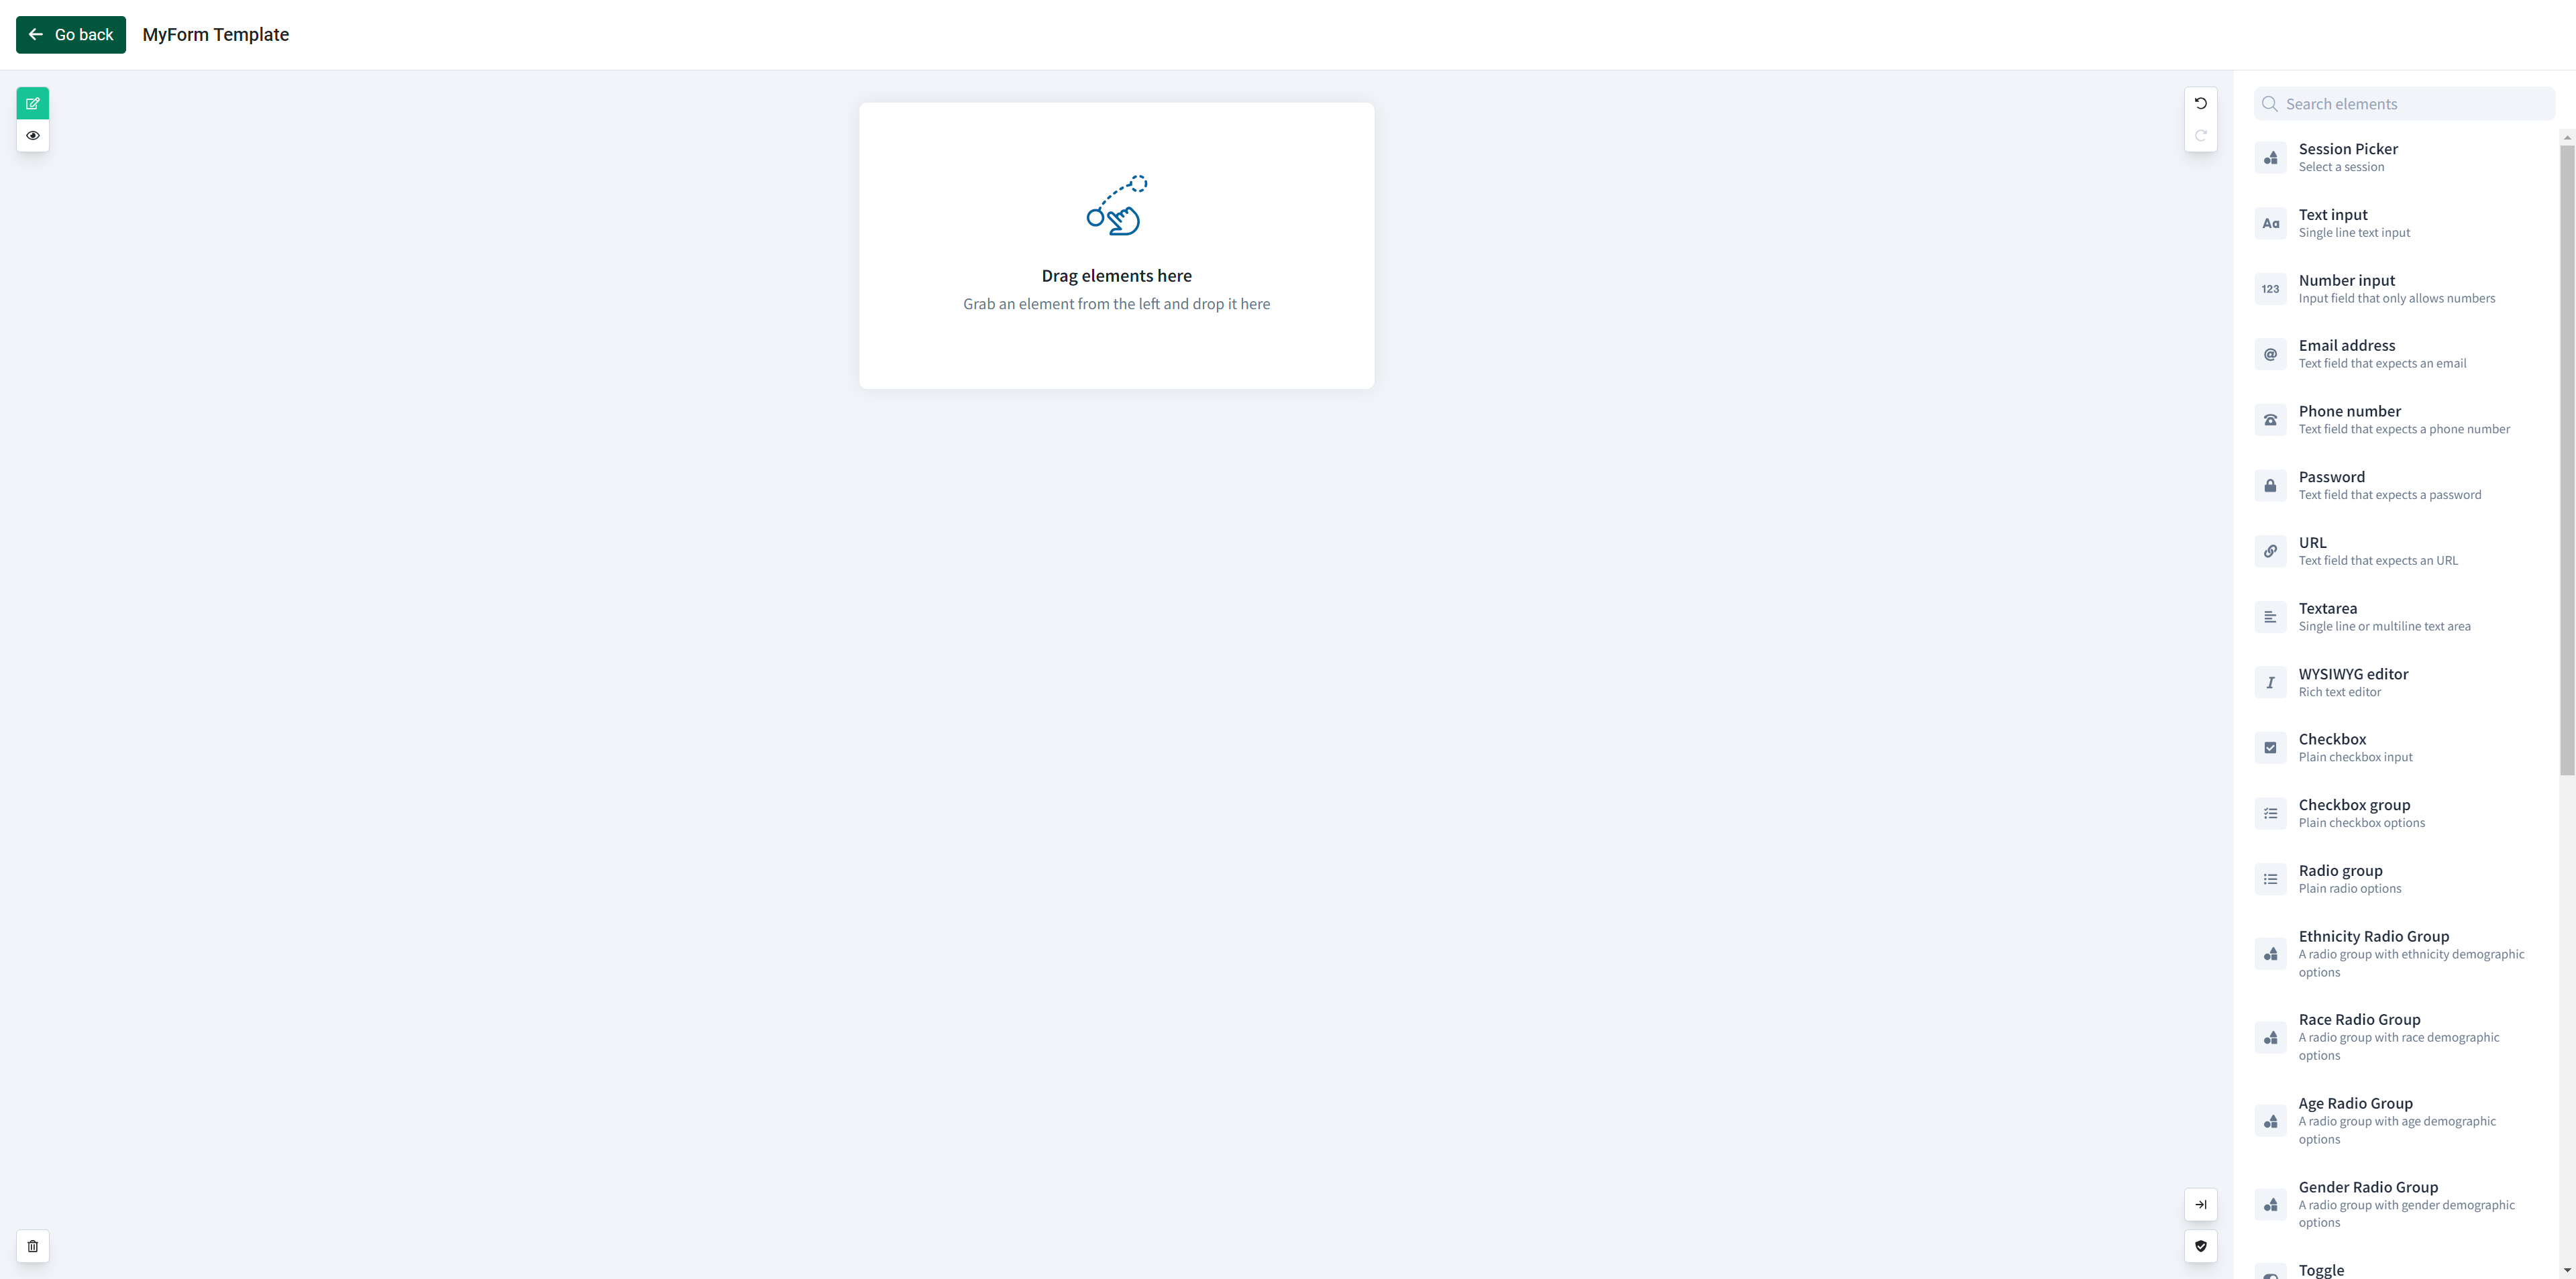
Add the elements by dragging and dropping them from the panel on the right side of the screen.

As you build your form, we recommend renaming the field of the element(s), located under ‘properties’. This field name will display in the export, so if the name is not unique you may have trouble identifying which question it is referring to.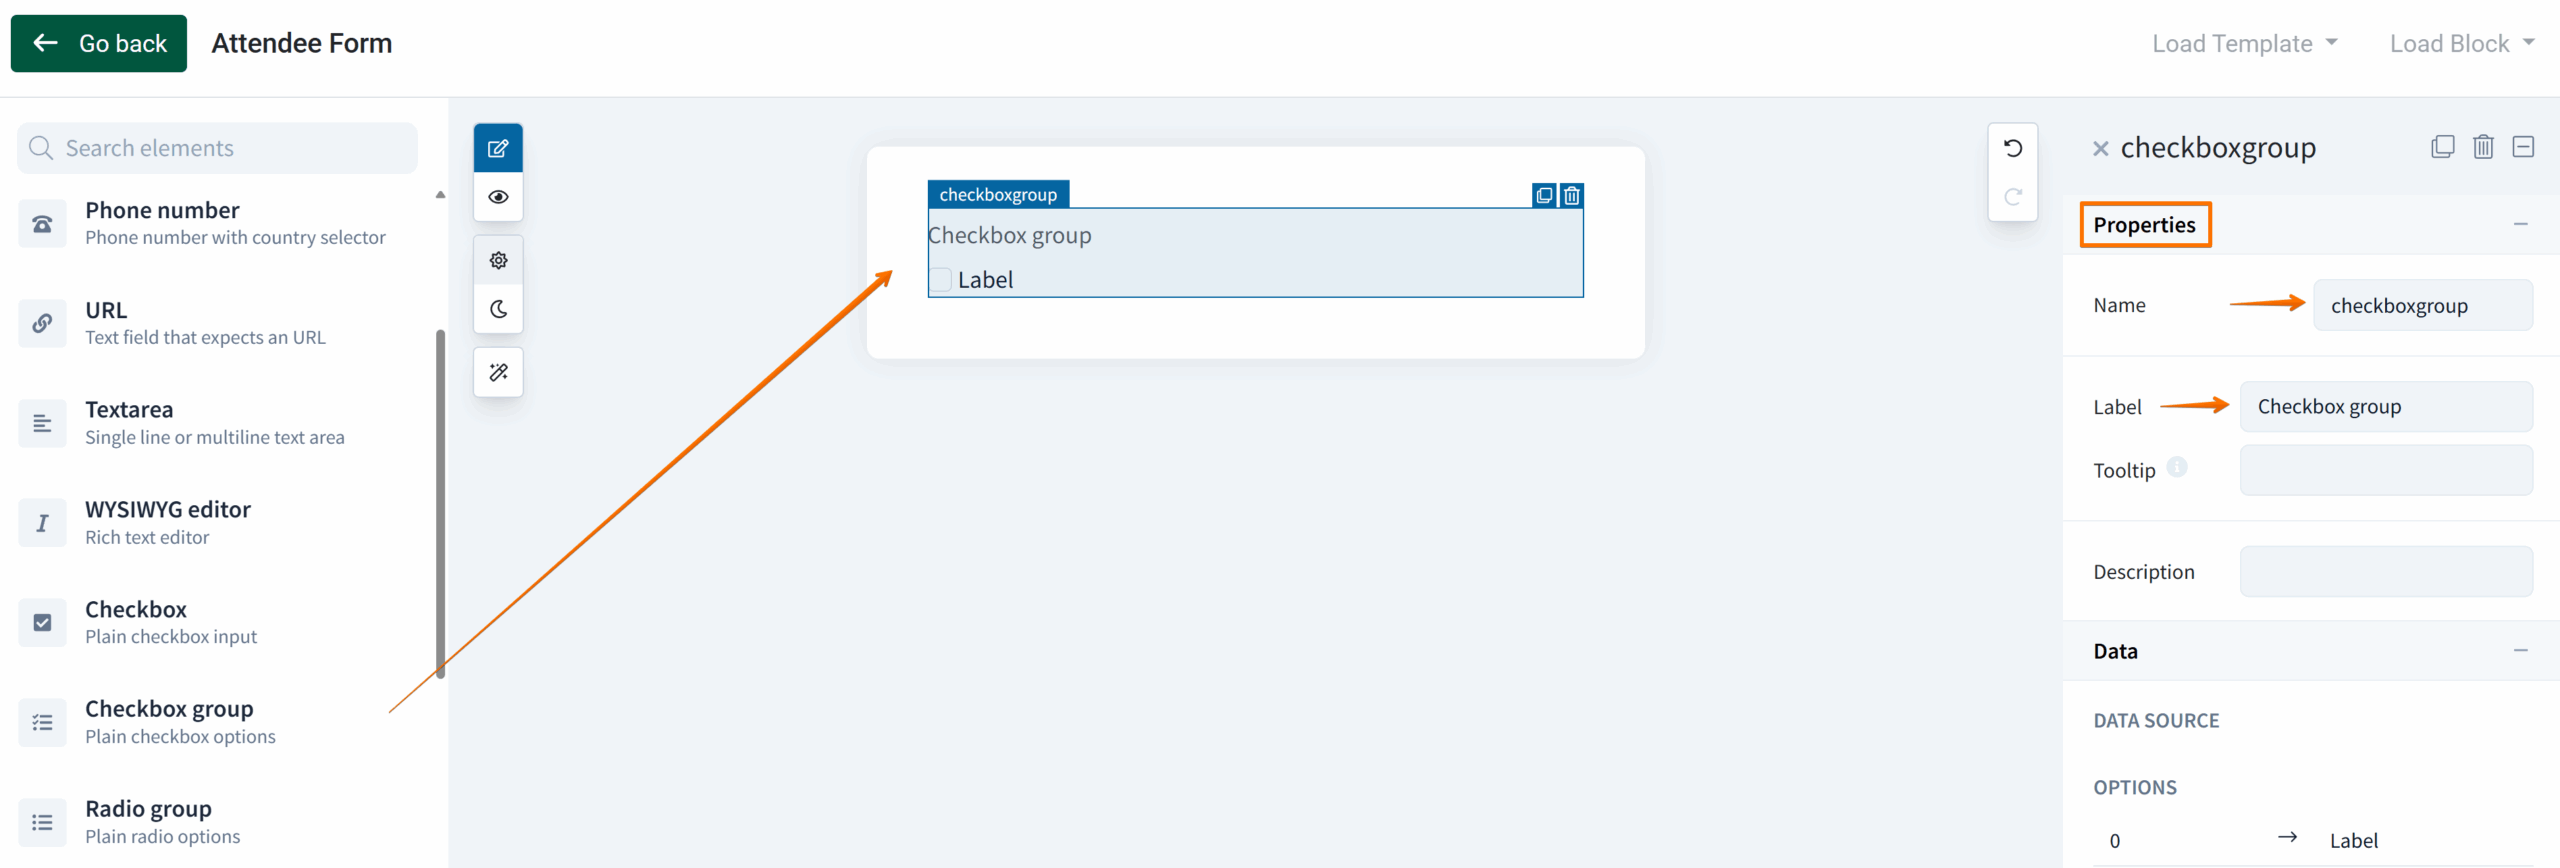
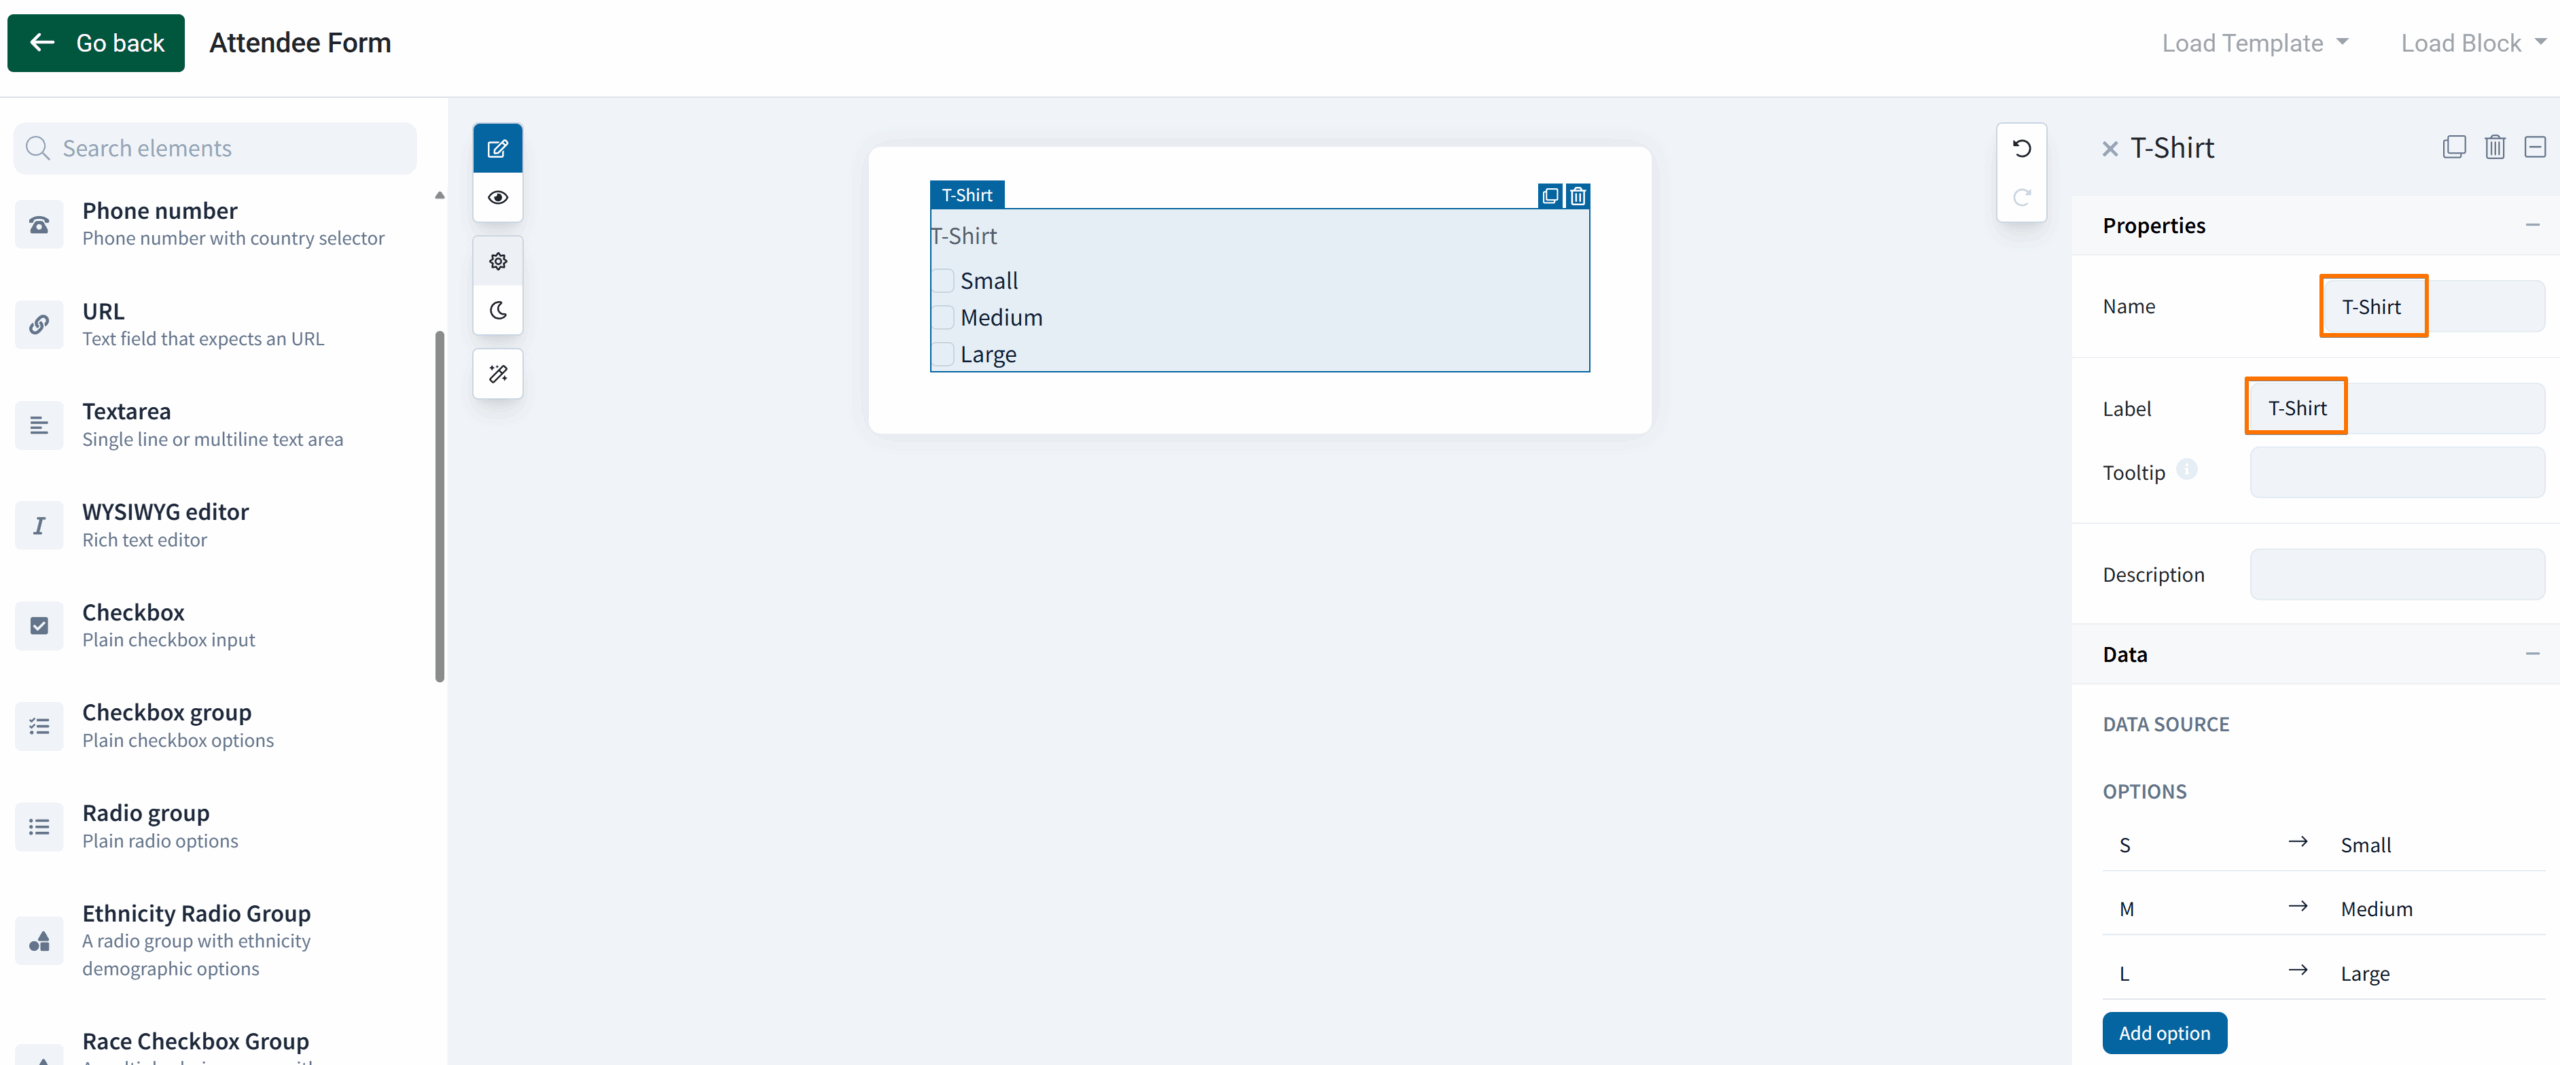
For example, this Checkbox group element has been renamed to “T-Shirt” after being dragged and dropped into the form, and is shown below. The name field is what will display in the export.
To mark an element as a required field, expand the ‘Validation’ section and find the setting titled ‘Required’. Toggle it on and note the red asterisk that appears to the right of the field label, providing a visual indication this field is required.

Form Builder Basics
by Sara