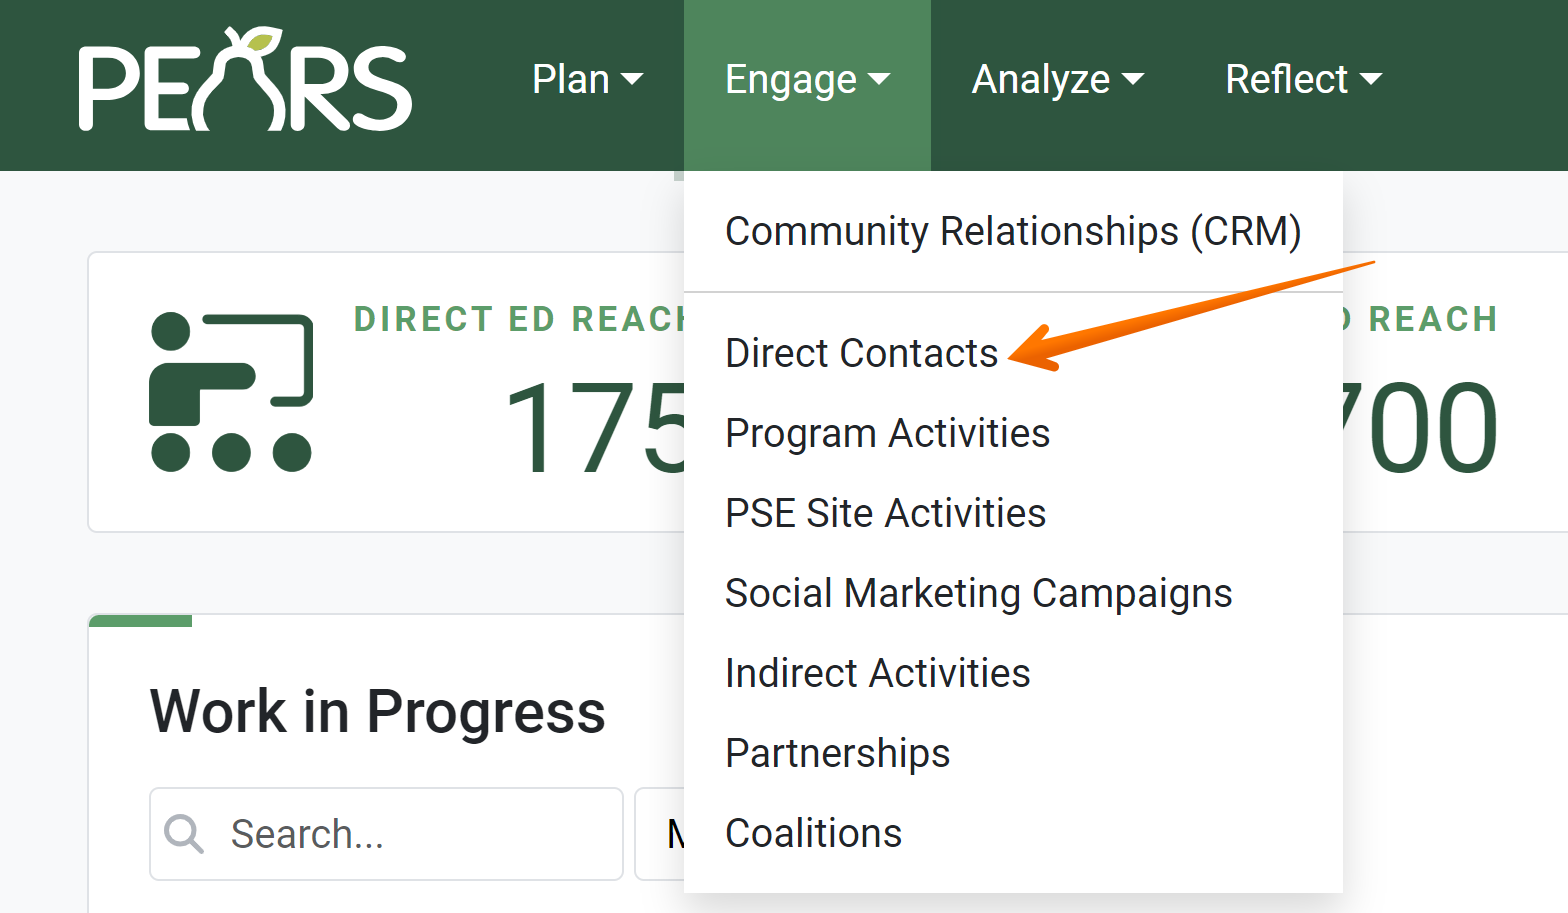
- From the PEARS homepage, hover over the Engage menu and click Direct Contacts:

The Direct Contacts detail page displays. Click on the Add button:

The Direct Contacts General Information page displays:

- Place the cursor in the field labeled Unit. A drop-down list of available units displays. Click on a unit from the list to assign to the Direct Contacts record:

- Place the cursor in the Program areas field, and click on a program area to associate with the Direct Contacts record:

- Place the cursor in the field labeled Date range. In the drop-down menu that displays, click on the month that this Direct Contacts record applies to:

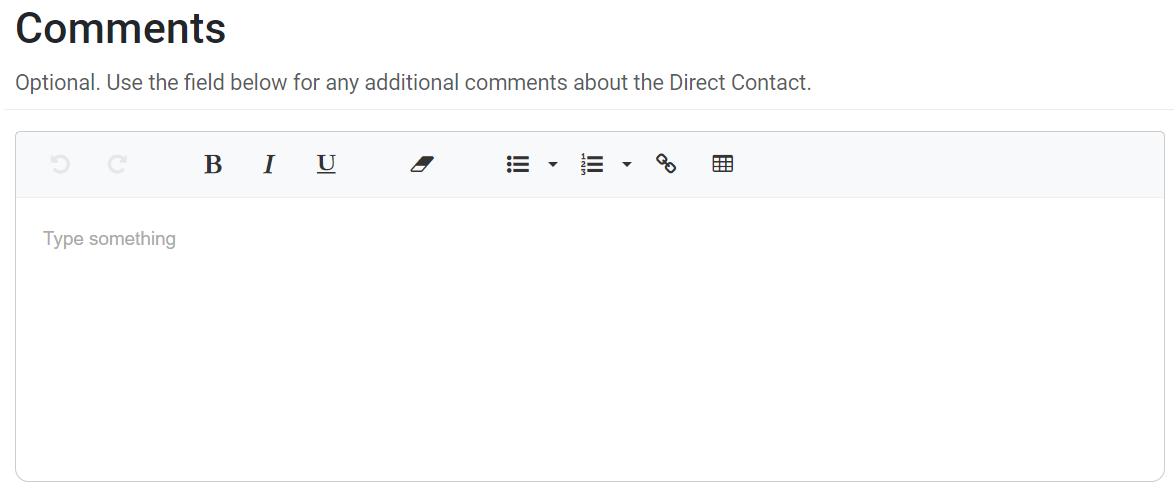
Optionally, in the Comments field, add any general information not captured in other fields.

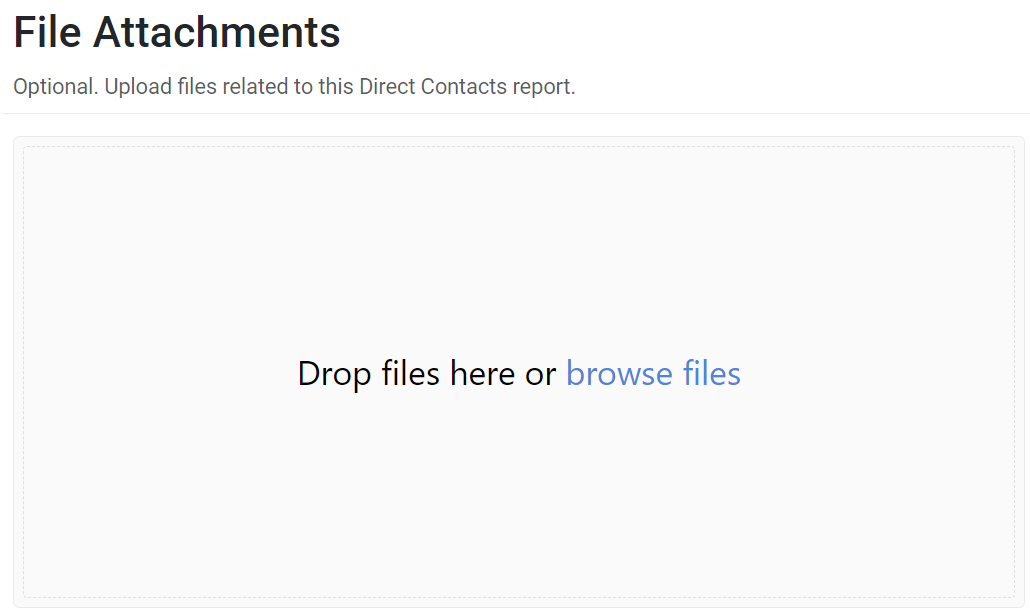
Optionally, in the File Attachments field, upload related files. To upload files, click Select to choose files from the computer’s file explorer. Alternatively, drag and drop files into the gray area.

Many different types of files can be uploaded, including: Word documents, PDFs, Excel workbooks, jpg, png, and others.
- Click Save and continue to save the page and move to the next section, or click Save to save the current changes and view the record details.
✓ TIP:
If you've already created a direct contact for a certain month, that month will not display in the Date range drop-down.
✓ TIP:
Organization Administrators can edit the list of date ranges via the Manage Lists admin page. For more information about managing lists, see the following article: Manage Lists.
